This tutorial on how to sew placemats was featured in the Autumn 2020 issue of Beg!nner Sewing magazine. Follow along with Everyday with Mae in the tutorial below, and check out some of the other beginner sewing tutorials features on our website when you are finished.
Contributed by Everyday with Mae

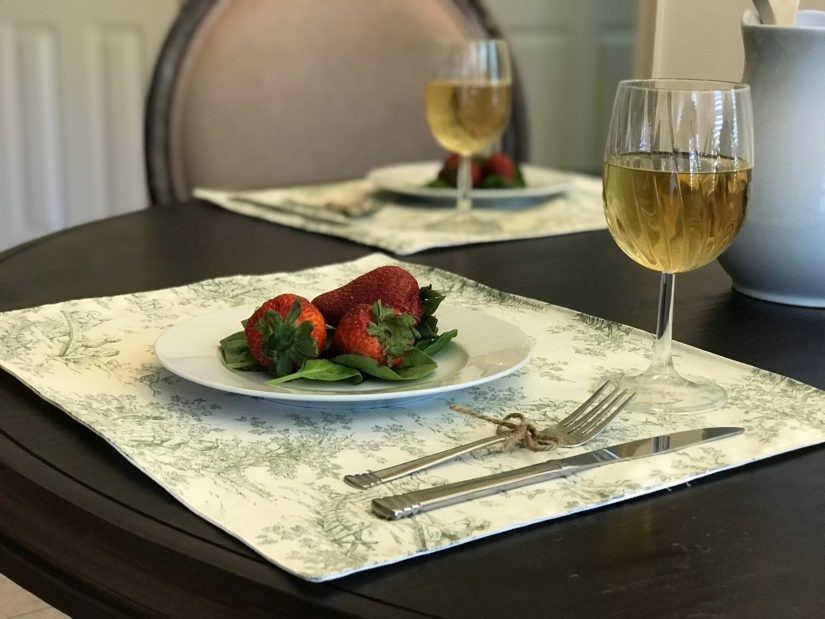
This beautiful green goes so well with the dark wood stain and my upholstered chairs.
What you need

- Two 19″ x 15″ pieces of upholstery fabric (I used 2 different fabrics)
- Scissors
- Hem gauge or transparant ruler
- Point took or other turning tool
- Pins
- Iron
- Sewing machine
- Coordinating thread
Here’s how I did it
Step 1: I washed the fabric with mild detergent in cold water. After drying, I gave it a good press to ensure accurate cutting. I cut my pieces 19″ x 15″.
Step 2: With right sides together, I put a pin in the top middle on the right side and measured 3″ down from that and put another pin. this is where I will turn the piece right side out. I then pinned all the way around the other sides.

The pins are hard to see, but they’re there.
Step 3: Start stitching near the pin at the bottom of the 3″ opening with a 1/2″ seam allowance. Don’t forget to backstitch (this will help hold the integrity of the seam when you turn it right side out). When you get to the bottom, stop and lift your presser foot. Turn the fabric 90º and start sewing the long side. When you get to the next corner, lift your presser foot and turn the fabric again. Repeat for all sides.
TIP: I use my seam gauge when I get to a corner to make sure I’m stitching down to exactly 1/2″, then I rotate the fabric.

Stitch with 1/2″ seam allowance
Step 4: When you get to the other pin marking the opening, backstitch and snip your threads.
Step 5: Remove remaining pins and trim the excess fabric from the seam allowance and turn right side out.

Cut 1/4″ off the excess fabric and turn right side out.

It’s alive!
Step 6: Carefully push out the corners with a point tool or other object. I used the my fabric pencil, but chopsticks work really well too! Tuck the edges of the unstitched area and press with an iron.
Step 7: Here’s the fun part! Topstitch the edges at 1/4″, making sure to catch both pieces of fabric. Take your time and go slow because you want it to be perfect.

Topstitch at 1/4″ inch
Step 8: Cut your threads and marvel at your work!

