
I know for many of us the reason we sew is to be able to create one-of-a-kind “things”. My kids have grown accustomed to this “service” I provide and both appreciate and anticipate the holiday gifts I will pick to make them each year. When I found this how to sew a large floor pillow tutorial, I thought HOW PERFECT! Kids of any age would love to have this. The tutorial is easy to follow, and as a bonus, it has a video to coincide.
If you are feeling like taking this sewing project one step further, try adding a book pocket. Or … Although these would be cozy to have indoors, you can take this outdoors as well by using a vinyl or outdoor fabric for the cushion.
If you want to make it is a soft plush minky or faux fur, learn more about sewing with those fabrics here.
Not ready to make this project yet? Save it for later on Pinterest:

One of the best step by step tutorials I have created in a long time is this DIY Floor Pillow. If you don’t have any giant floor pillows in your home, trust me when I tell you, you need some. ASAP!

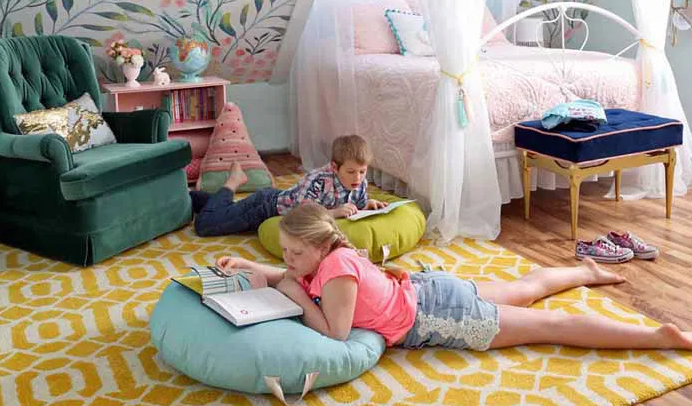
DIY floor seating is a must if you have children. Ever sat to play games on the floor, or stretched out on the floor to watch a movie? These are perfect for kids, for reading, hanging out, even sleepovers. Seriously moms, save your back, knees, elbows… this easy to sew DIY floor pillow tutorial is just what the kids need you need!
I made a little video so you can see just how easy it is to make a DIY Floor Pillow, click Play to watch. I bet you could sew one of these in less than a half hour!

How to Sew a DIY Floor Pillow
Materials Needed for your DIY Floor Pillow:
- Approximately 2 yards of fabric. I highly recommend using indoor/ outdoor fabric. It often has a coating that will resist stains. Since your DIY floor pillow will be living on the floor the added protection is a bonus.
- One 14″ x 4″ strip of leather fabric (faux is fine)
- Floor pillow stuffing- cotton, foam, or polyfill. I used 3lb. of Eversoft Foam Chips, it is very inexpensive (about $15 for one-floor pillow).
Tools Needed for your DIY Floor Pillow:

- Sewing Machine
- Serger (optional)
- Scissors
- Thread and notions
- String, tape, fabric marker, chopstick (something straight will do)
Instructions to Make your DIY Floor Pillow:
Measure approx. 18″ of string. Tie one end to the marker, other to the chopstick. Use the tape to secure.

Fold fabric right sides together. While holding the chop stick securely in the centre, extend the sting to the maximum length and draw a circle. Pin along the edges of the circle securing the layers of fabric together and cut out.

Cut a strip of leather measuring 14″ long by 4″ wide. Fold wrong sides together and stitch a 1/4″ hem. flip right side out. Sandwich the leather handle between the two layers of fabric with the raw edges out, in a ‘U’ shape and pin in place.

Place to top fabric back over, and pin in place.

Using a serger or a zig zag stitch, secure the edges of the fabric so they will not fray, leaving a 6-8″ opening at the back (opposite the handle). Next, sew a straight stitch 1/4″ from the edge.

Flip your pillow right side out.

Using the floor pillow stuffing, insert the bag into the hole and wiggle the stuffing from the bag. Although the foam chips are a very affordable and comfortable option is is VERY messy. I’d recommend doing this step outside.

Pin the cushion closed and stitch a 1/4″ seem to secure it closed.

There you have it, a DIY floor pillow created just by you!

This easy sewing floor cushion tutorial is one you’ll want to have in your back pocket. They are perfect for children, adults, pets, indoors, outdoors, camping, picnics… the possibilities are endless!!
Thank you for following along with sewing tutorial.
This is perfect as a Christmas gift. I hope I can get other things finished to do this for my little people.