It seems like I have been on a bag kick lately. Bags are one of the best ways for beginners to learn new techniques. And if you look at each of the bag tutorials that I have posted, you can see how each incorporates a new element. Indeed these little thing can give the bag a whole new look. What new element in this tutorial on how to sew a tote bag is new? Tutorial is introducing you to webbing.
Webbing… wait… what?!?!?! What is webbing you ask? Simply put, it is the type of “handles” that they are using for this particular bag. To put it into a google definition, “webbing is a strong fabric that is most often used to add a strap to a sewing project. It comes in many different types, fabrics, and colors, so it is quite versatile. Sewing webbing requires some special techniques and materials, but it is easy to do.”
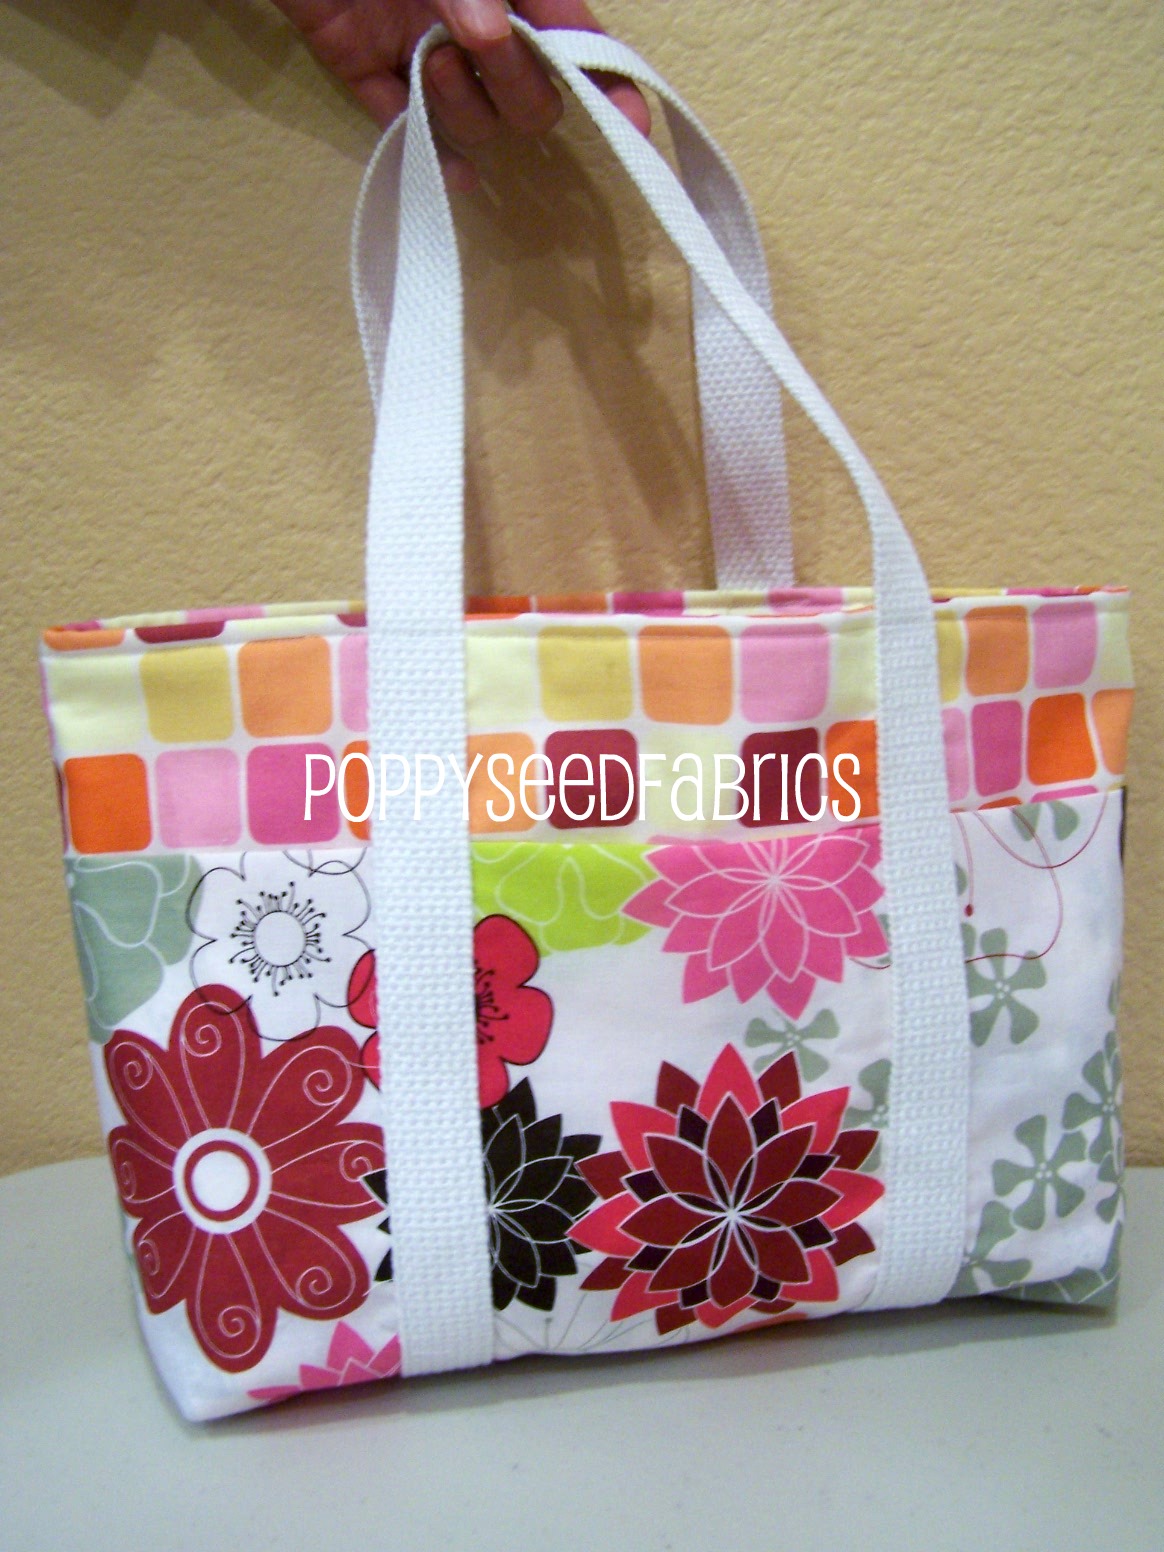
This easy tote bag tutorial was found on Poppyseed Fabrics, where you can also purchase your supplies and the webbing to make your own tote!
Alternative options
If you want to challenge yourself and make this tote bag using other straps with materials you have at home, be creative. Share your project on our Beginner Sewing group on Facebook and let us know how you made this your own!
Not ready to sew this tote bag yet? Save it here on Pinterest for later…
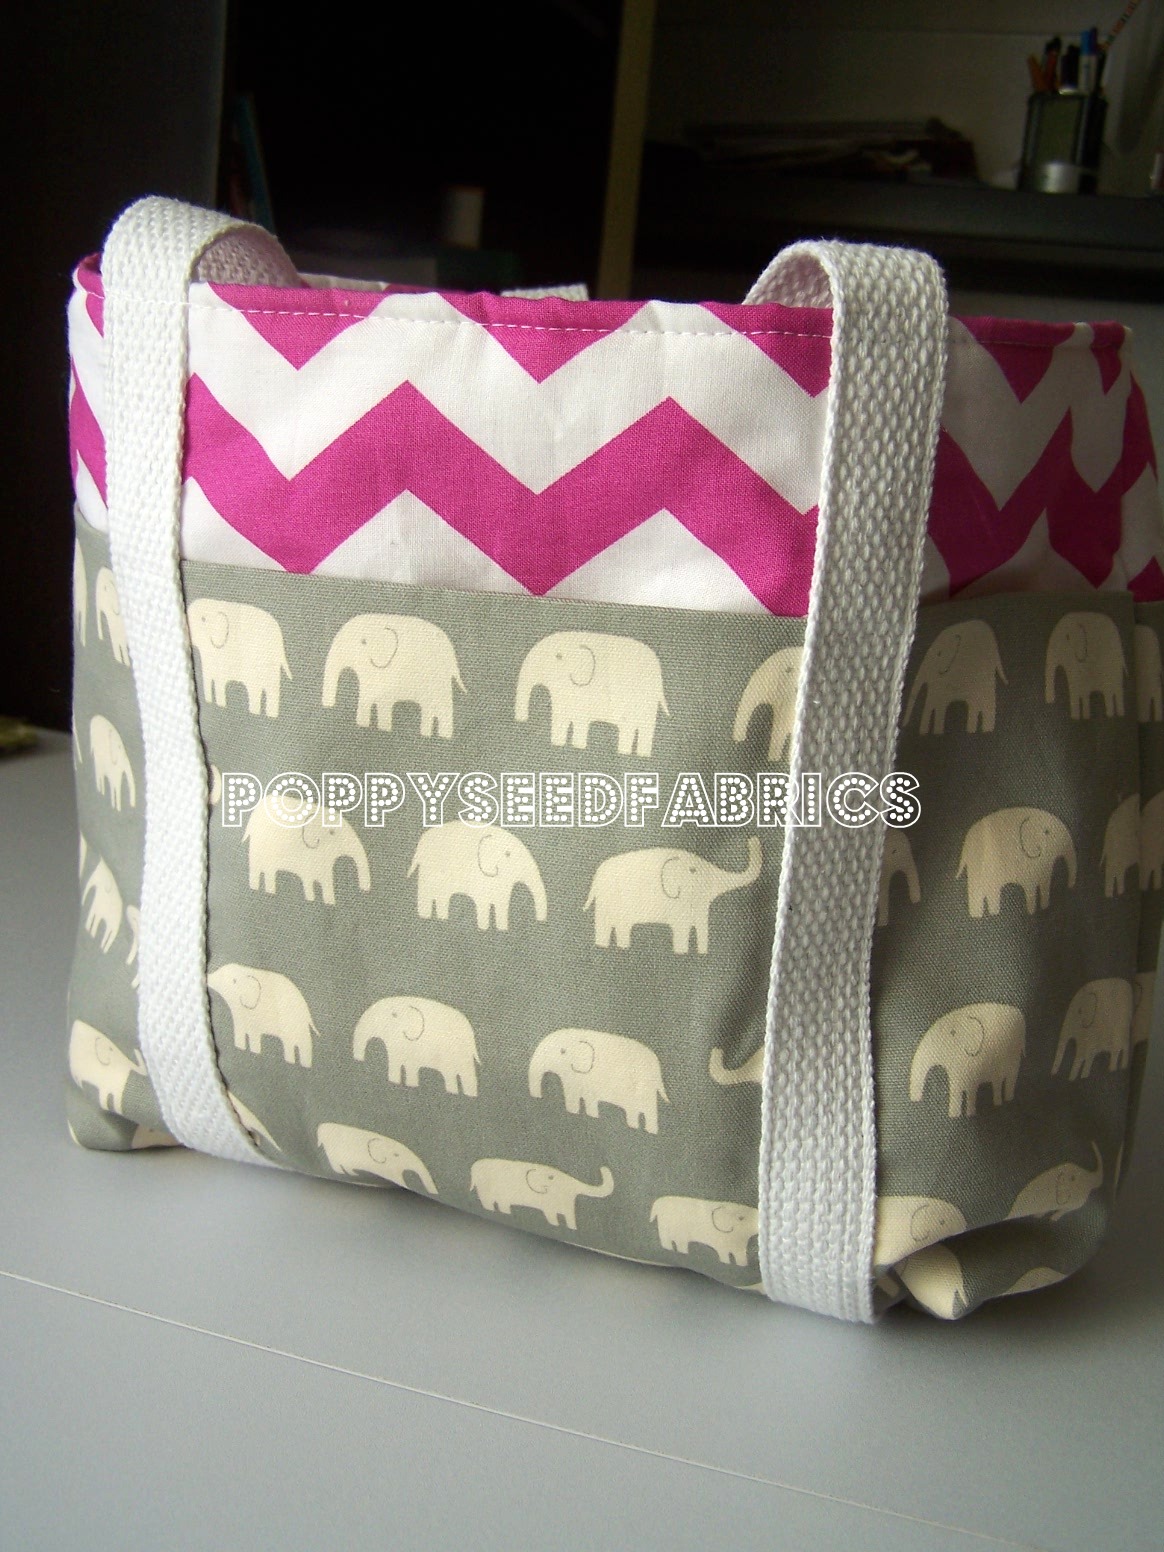
This is a great super, fun and easy tote bag tutorial that you will want to make over and over again!
Supplies

1/2 yardd of 2 different fabrics
2 yards coordinating webbing
2 pieces batting, thin like warm and natural 15″x 10″ -not meant to cover whole bag
Prepping Your Materials
From these items you want to cut you’re fabric into these measurements:
Batting Pieces – 2 (thin like warm and natural) 15″length x 10″ wide
Bag Pieces – 2 15″length (left to right if using directional) x 20.5″wide (up and down)
Pocked Pieces – 2 15″length x 16.5″ wide
Webbing – cut webbing into two 1 yard pieces
Let’s Get Started
First fold pocket piece in half and press, then you’re going to layer your pieces:

Next take one set and pin one of the webbing yards, to make the straps. Starting at the bottom leave about 4″ between each strap. Do this to the other set, so both look like this:


Now you’re going to stitch the strap to all 3 layers, starting at one cut end of webbing, sewing along the edge of the strap. You will stitch pass the pocket and up to where your batting edge ends. (this will allow the fabric to show at the top above the pocket when finished)
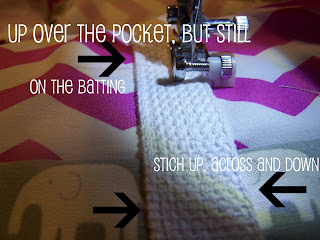
Pivot your bag with needle down and sew the other edge of the strap back down to where you started. This will tack down both edges of this strap.
Repeat this to other side of strap on same side of bag your working on.
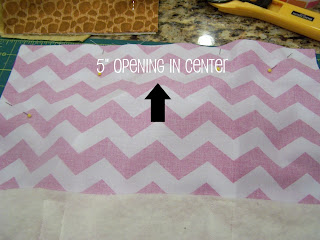
Repeat to other bag side. Once both are complete you are half way DONE! Now layer the 2 bag sides one on top of each other right sides together. At this point your straps are loose on the inside of the bag, just make sure to keep them out of the way, when you sew. Pin together leaving a 5″ opening at the top center. (remember sewn straps are at the bottom of the bag) Stitch 1/2 inch around all 4 sides. Remembering to leave a 5″ opening.
Shaping the corners
Now you’re going to shape corners of bag and lining. (bit tricky) You’re going to open up the corner and press it down so it looks like this.
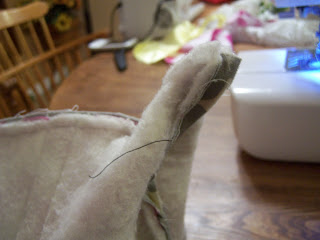
Then pin it and measure 2″ from the point and about 4″ across and sew along that 4″.


Do this to all 4 corners. Does you’re bag look like this? (TIP before you cut the corners I would make sure that the lining fits great, just in case you need to make some adjustments…I’m talking from experience).
NOW slowly turn it inside out, and if you’re lining sits great, then go ahead and cut the corners. You can now stitch closed the lining (the 5″ opening) with a small stitch.. and lastly you’re going to top stitch the top of the bag…Remember you’re top stitching so make a bigger size stitch, like a 4.0 would be great.
Isn’t this cute? my friend made this one for her little girl.. even her inside looks so professional.

Now both of these bags used the same pattern, but obviously they turned out a little different..(I think my bag measurements were a little off.. to my defense it was about 7pm and my brain shuts off at 5p…) but they both still look good. so with that said if you bag comes out a little bigger or smaller it will still do it’s job and know one will know but you.

Our bags finished size (yours could come out slightly different)
width 13.5″
height 10.5″
including handle 16″ high
depth 4″
One Comment