
I am going to start this post with a disclaimer: If you are a beginner with little to no experience I do not recommend you attempt this skirt just yet. I do recommend if you are interested in sewing this project that you take a look at the video to see what skills you will need to learn how to sew a skirt with pleats. If you see skills you have not yet learned, start with smaller projects that introduce those skills one at a time. Once you feel more comfortable, you can then go back to your saved project files and give this one a try. This will help you from being discouraged.
If you are an “intermediate beginner”, this is a great tutorial, video AND free pattern to add to your collection. Ladies, this has pockets! Yes… pockets! Thank you to Sew Sew Easy for giving women equal pocket opportunities (ha) – life’s little pleasures. Sew So Easy always does a fantastic job – if you do not follow them, you may want to consider it.
How to Sew the Summer Pleated Skirt Pattern Tutorial and Video
Check out the video tutorial, or follow the step by step photos below.
The Summer Pleated Skirt Pattern – step by step
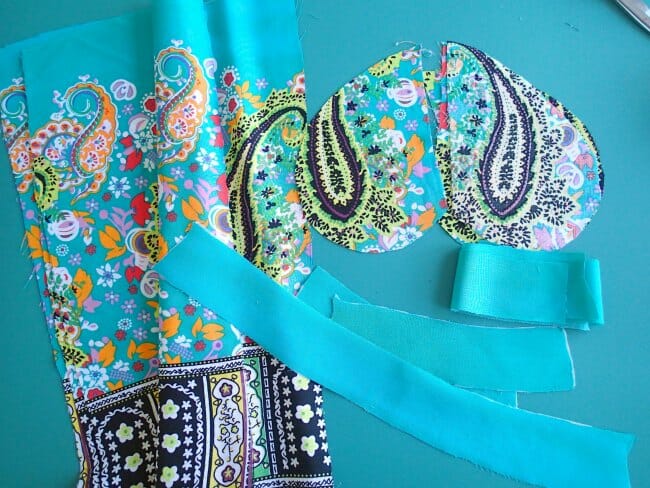
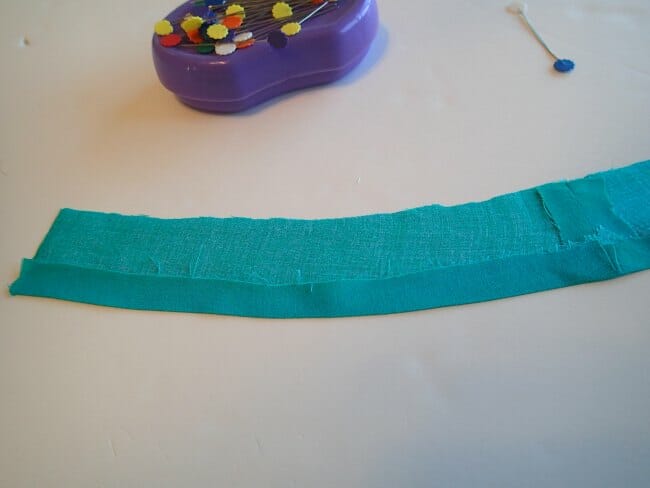
Download the pattern and check out the instructions provided for cutting your pieces. Cut everything you need, and then add a light weight apparel interfacing to the outer waistband pieces. We’re ready to start putting it all together.
Find the center of the front waistband and the center of the front skirt panel and mark them.
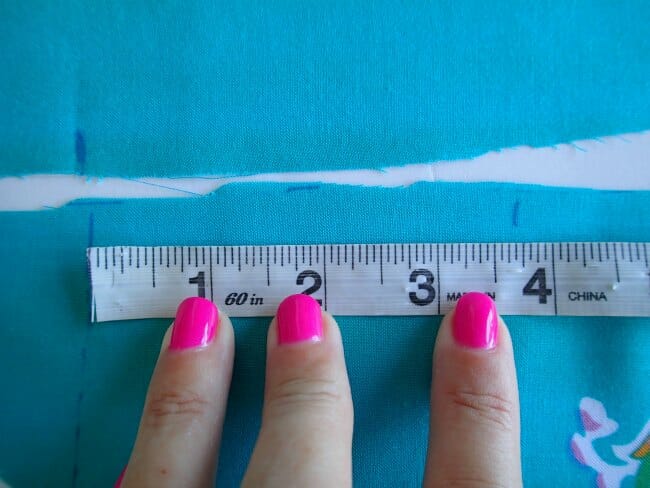
Check the table in your pattern instructions for where to mark your pleats and make a mark out in each direction from the center front.
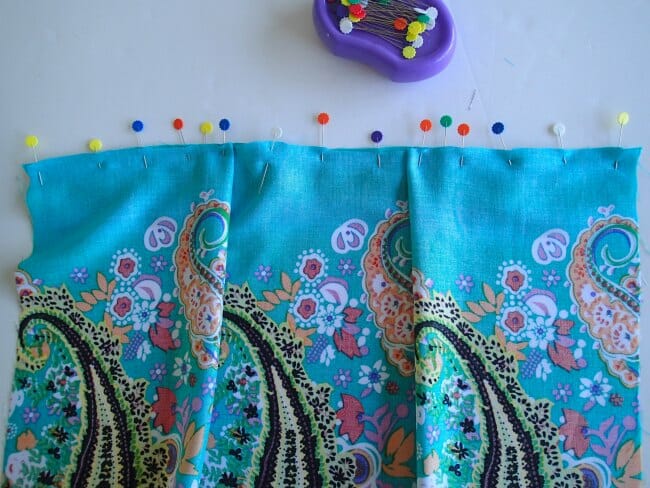
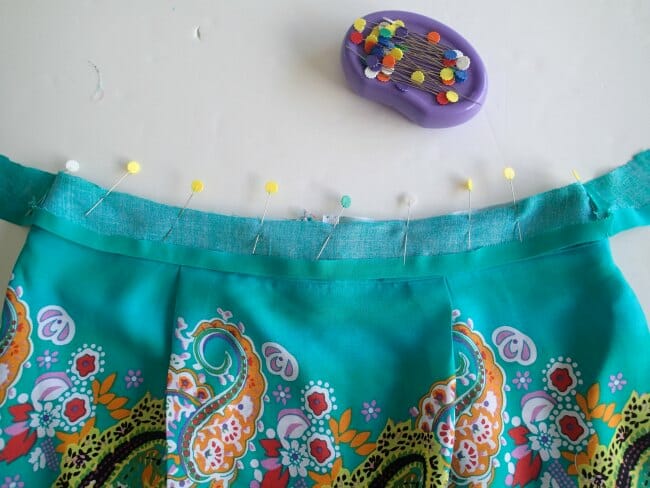
Start pinning the skirt panel to the waistband at the center, then pin out to the pleat marks, placing a pin on each mark.
Then match the side seams with the outer waistband edges and pin in towards the center. You’ll have some excess fabric. Keep sliding this up towards the center as you pin and eventually you’ll come to that pin that marks the pleat. Fold the excess fabric towards the center to create a pleat and pin it in place.
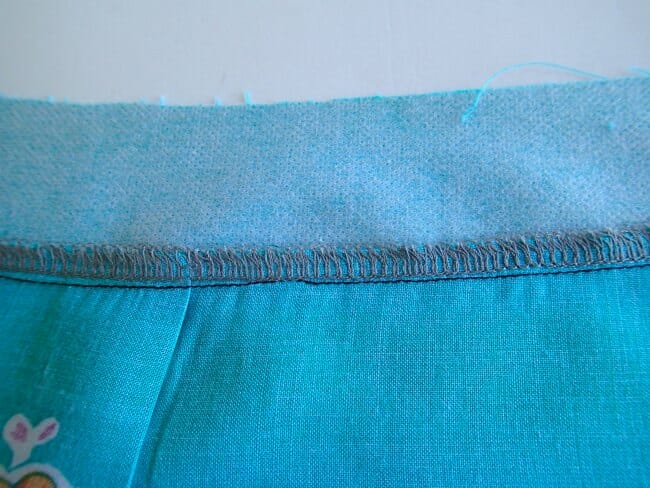
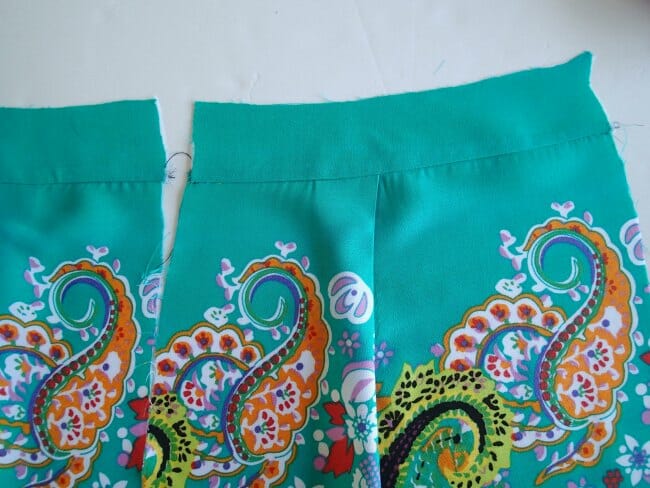
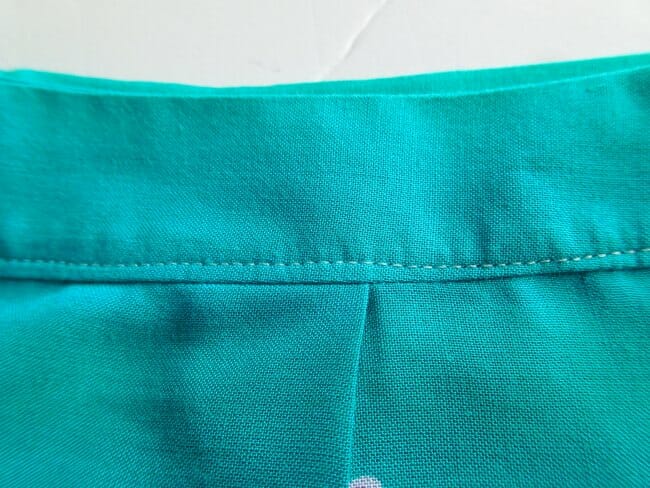
Stitch the waistband to the front panel with a 1/2 inch seam allowance. Press both seam allowances upwards. Set this piece aside.
Take your two skirt back panels and referring again to the table in the instructions, mark out from center back on each piece. Start pinning the skirt panel to the back waistband at center back until you reach your mark. Then pin in from the side seams until you reach that mark, folding the extra fabric towards center back to create your pleat. Make sure the pleats are a mirror image of each other when you place your back pieces together.

Sew both back waistband pieces with 1/2 inc seam allowance. Press both seam allowances upwards.
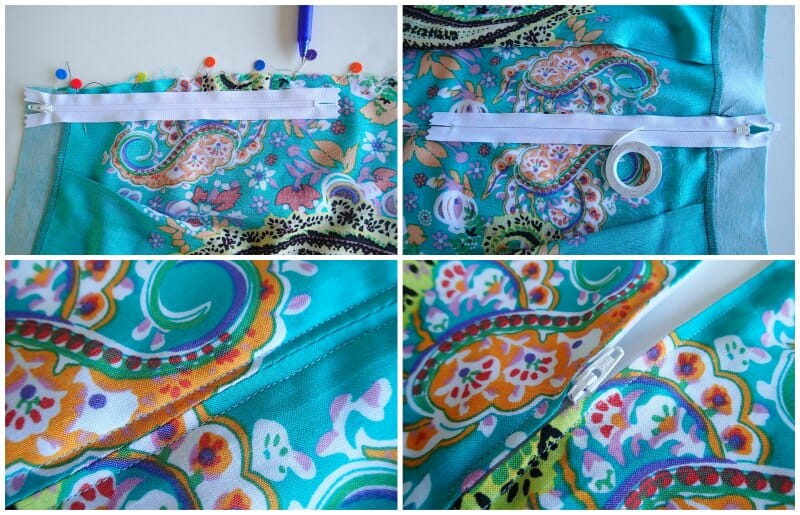
Insert your skirt zipper into the center back. Either follow these instructions for how to sew an invisible zipper, or follow the instructions below and in the video (if you need them) for how to add a regular skirt zipper. Finish your back seam.
For my regular skirt zipper installation.
- Pin the entire back seam.
- Mark where the bottom of your zipper will fall. I decided to shorten mine a little.
- Baste with a long stitch from the top of the waistband to your mark. Then stitch to a regular stitch length, back stitch a couple of times and then sew your regular 1/2 inch seam to the bottom hemline. Neaten your seam. Press the seam open where the zipper will fall.
- Place your zipper over the center back seam. I lined up the end of the tape with the top of the waistband and made sure the zipper teeth followed the center seam.
- Pin, glue or otherwise temporarily secure the zipper. I used two strips of Wonder Tape to hold it in place as I sew.
- Sew your skirt with the zipper upwards, using a zipper foot. Start at the waistband, don one side, across the bottom (don’t hit the zipper stop!) and back up the other side.
- Remove your basting stitches and give it a press.
Now pin your skirt panels and check for fit. Make any fitting adjustments necessary before adding pockets.
Optional step – if you are adding side seam pockets to your skirt, measure down 1 inch from your waistband seam on the front and back panels. Place your pocket pieces RST with the skirt panels with the top of the pocket at this 1 inch mark.
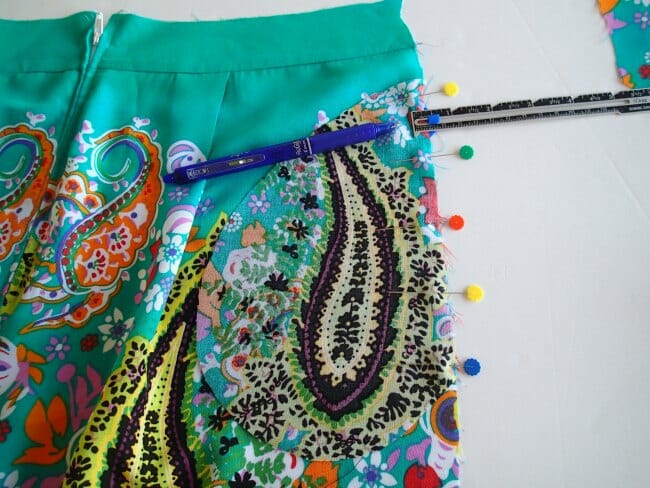
Sew your 4 pocket pieces in place with a 3/8th seam allowance. The seam allowance should be a little narrower than you will use for your side seam. Press the pockets out away from the skirt panels.
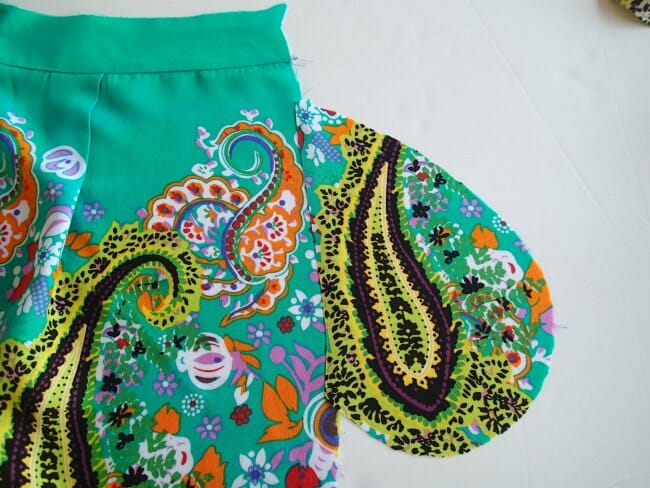
Match your side seams, matching waistband seams and pockets, RST. Stitch from the top of the waistband, then around the pocket, then back down the side seam until you reach the bottom. Use a 1/2 inc seam allowance. Neaten your seams and press both towards the front to make the pockets sit nicely.
Assemble your inner waistband pieces. If you had made any fitting adjustments, make the same changes here too. Press side seams open and press up 3/8th of an inch all along the lower curved edge.
Pin your waistband RST, matching side seams. Stitch across the front between the side seams.
At the back center, stitch your waistband to the zipper tape (see the video if you aren’t sure how to do this). Then resume stitching from the side seam to the center back. Turn out your waistband the right way and try to get nice neat square corners (tip in the video on how to do this.)
You can click this image below to enlarge it for more detail.
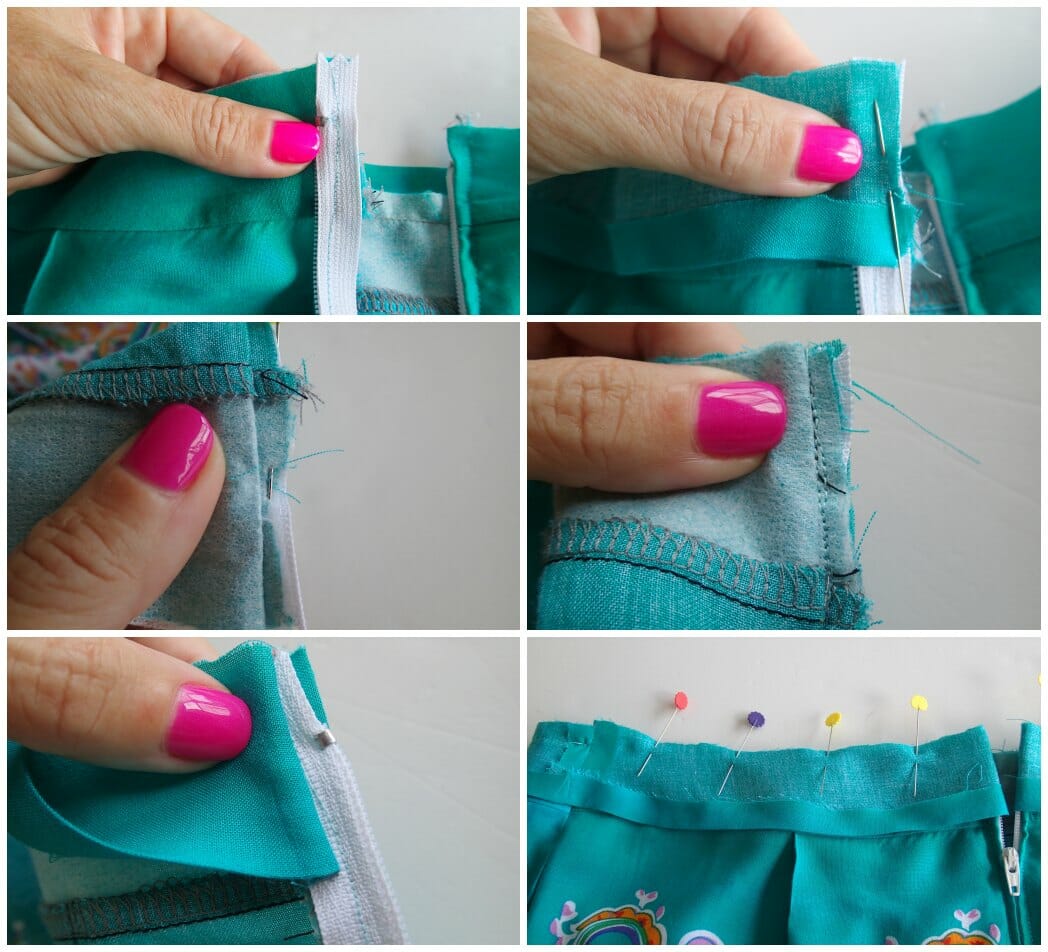
Press the waistband top edge. Pin the lower waistband inner edge to your seam allowance.
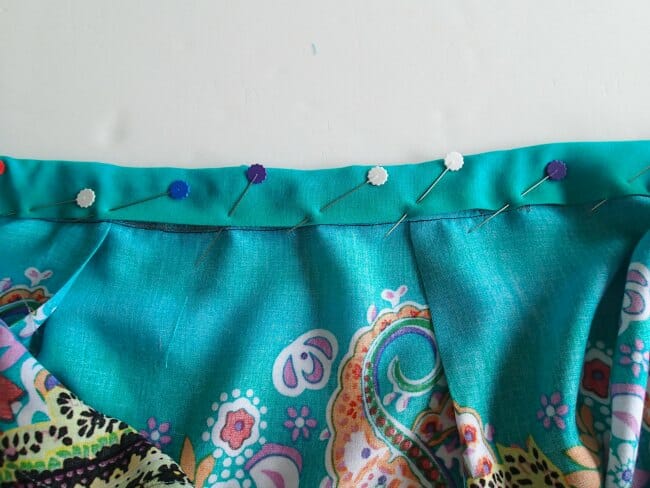
Either hand stitch the inner edge in place so your stitches can’t be seen from the outside, or sewing from the outside of the skirt, stitch close to the waistband edge catching the inner waistband fabric as you go.
Try on your skirt, check and pin the correct hem length for you. Trim, neaten, turn and stitch your hemline with your favorite finish. Give the skirt a final press and it’s ready to wear.