Whenever the questions comes up, “What is the easiest beginner project?” in the Beginner Sewing group on Facebook, without fail, numerous members reply with pillowcases. Why? Because it is true! Pillowcases are such a great starting point for beginner sewers. This is why I wanted to share with you a great tutorial I found from Smashed Peas and Carrots on how to sew your own pillowcase, as well with a YouTube video to follow along with if you would like a more visual approach.
Not ready to start sewing this project yet? Save this tutorial on Pinterest for later here…
French Seam Pillowcase Set in Under 30 Minutes-Tutorial
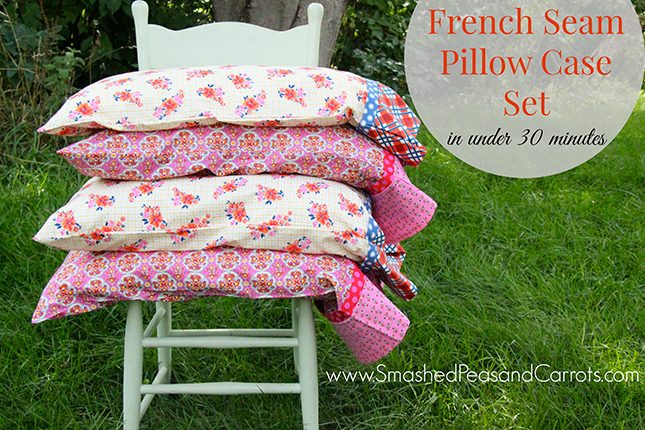

So I finally did a little selfish sewing. I whipped up a bunch of gorgeous pillowcases for our master bedroom and for the girls’ room as it has been a while since I updated each room. I made these pillowcases using french seams so that there are no exposed seams inside the pillowcase…ahhh the insides are now just as pretty as the outsides! The other bonus of making these pillowcases is that each one will take you about 15 minutes. Yup, I said 15 minutes! That means you can make a pair in less than 30 minutes!!!!! How’s that for a fast sewing project!
Preparing your fabric
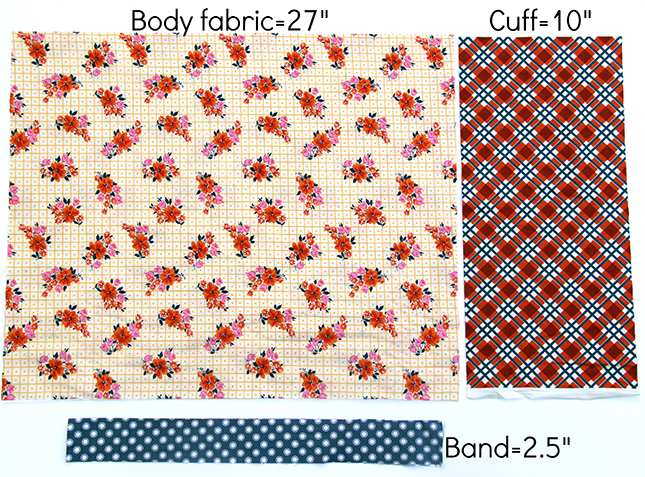
27″ x 42/44″ piece of fabric for the body of the pillowcase
10″ x 42/44″ piece of fabric for the cuff of the pillowcase
2.5″ x 42/44″ piece of fabric for the for the band of the pillowcase.
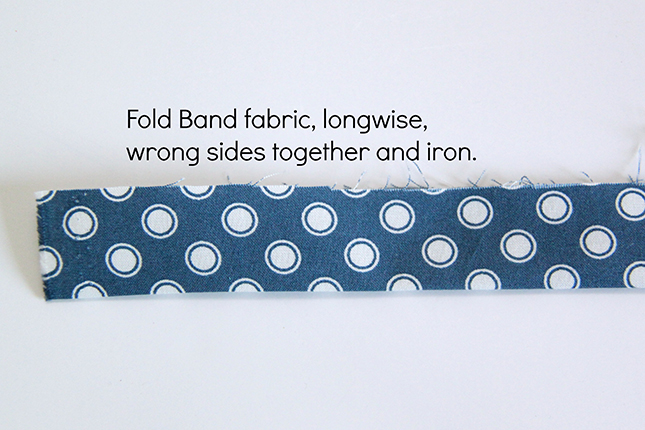
Piecing it together
The first thing you want to do is fold the band fabric in half lengthwise (the 42 or 44″ side) with wrong sides together and press with an iron, then set aside. Next you will do the following steps in this order:
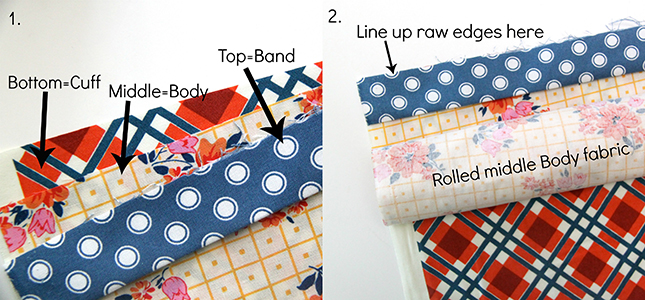
1.Place the fabrics one on top of the other in this order with the right sides up: Bottom Cuff on the bottom, the Body fabric in the middle, and the Band fabric on the top all with their long (42/44″ inch side) raw edges together.
2. Next, roll of the Body fabric until it is about an inch from the folded edge of the Band fabric. It should be rolled about halfway into the Cuff fabric underneath at this point.
3. Next fold the Cuff fabric over top the like you are making a taco, so the right sides will be facing into the center. Make sure the raw edges are all lined up together and pin them all in place to keep them there. Sew down the raw edges using a 1/4 inch seam allowance.
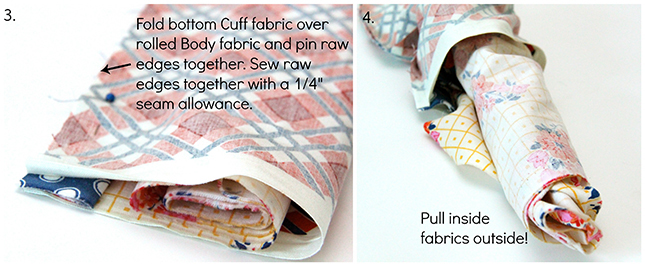
4. Lastly, pull the inside fabrics outside. It will seem like an odd thing to do but it totally works! It’s a fun little magic trick that make a neat little Cuff and Band for the pillowcase!
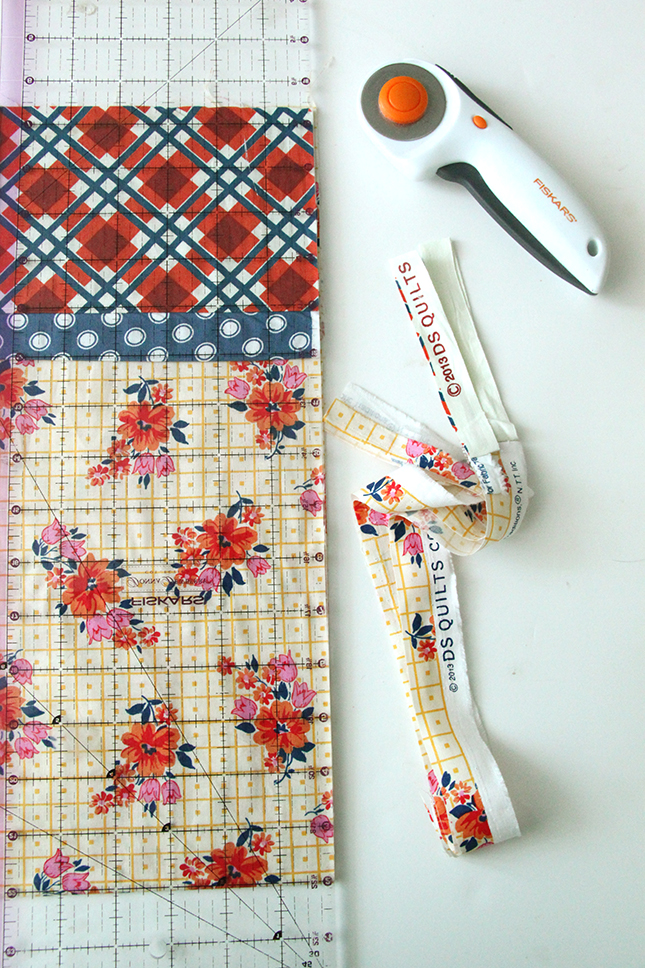
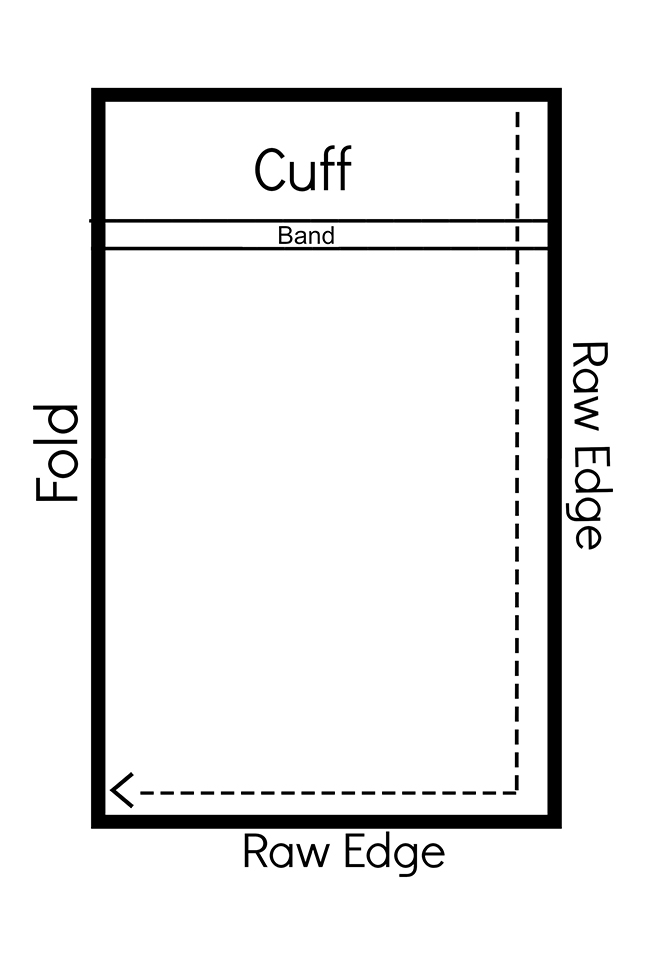
Next, press the pillowcase and fold it in half so that the Cuff, Band and Body fabrics are laying wrong sides together, with right sides of the pillowcase out. Then fold the pillowcase in half again bringing the bottom of the pillowcase up to the top (note: you can just square off the raw edges without this last step but if you fold the pillowcase up it takes less space on your rotary mat!) Then grab a ruler and square off the raw edges of the fabric so you have a nice clean edge on the side and bottom to sew together.
Next, starting at the top of the Cuff, sew down the side of the pillowcase and along the bottom using a 1/4 inch seam allowance. Clip the bottom two corners carefully and then turn the pillowcase wrong side out making sure to push out each corner. Sew down the edge and bottom of the pillowcase again starting at the Cuff. Use a 1/2 seam allowance this time making sure to enclose the last seam you just made. This finished seam is called a French Seam and when you flip your pillowcase right side out and press it you will have a lovely pillowcase with a nice and neat hidden seam inside!
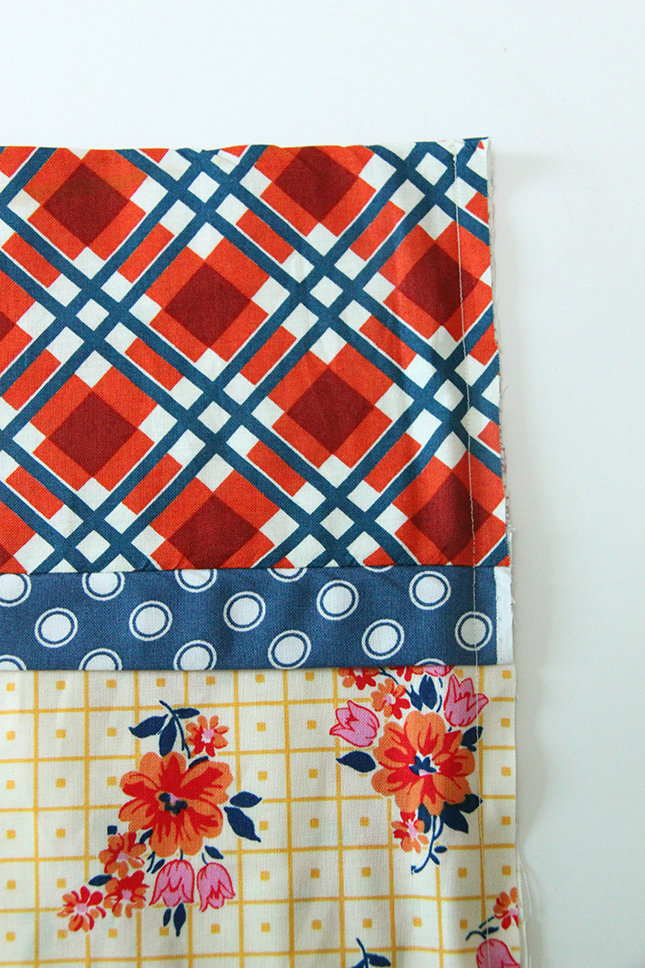
Below is a diagram to help you see how you will sew down the raw edge of the side and bottom of the pillowcase.
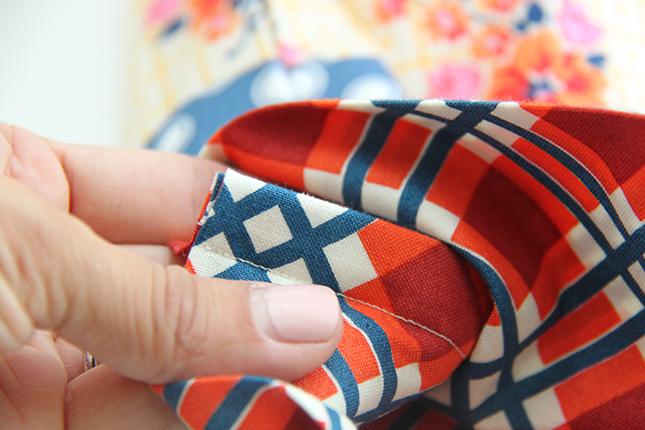

And here is what your French Seam should look like! Hooray, no need for a serger, the seam is not exposed so it looks nice and clean!!!I hope this tutorial inspires you to do a little selfish sewing too! There is nothing like having new, pretty bedroom linens!!
More from YouTube
If you are more of a visual learner. Watch this YouTube video from My Sew Bliss to show you how it is done!
One Comment