Recently I have seen many members of the Beginner Sewing Facebook group posting pictures of pouches that they have mastered. Perhaps now is a good time to take your pouch making up a level and learn how to sew a boxed pouch?
This is an easy to follow tutorial if you are familiar with the concepts from mastering basic pouches. But if you are just getting started with your sewing project portfolio, you may want to start with something like this tissue pouch to learn some of the basic concepts involved first.
If you would like to save this tutorial on how to sew a boxed pouch for later, you can find it here on Pinterest…
Boxed pouch tutorial from s.o.t.a.k handmade

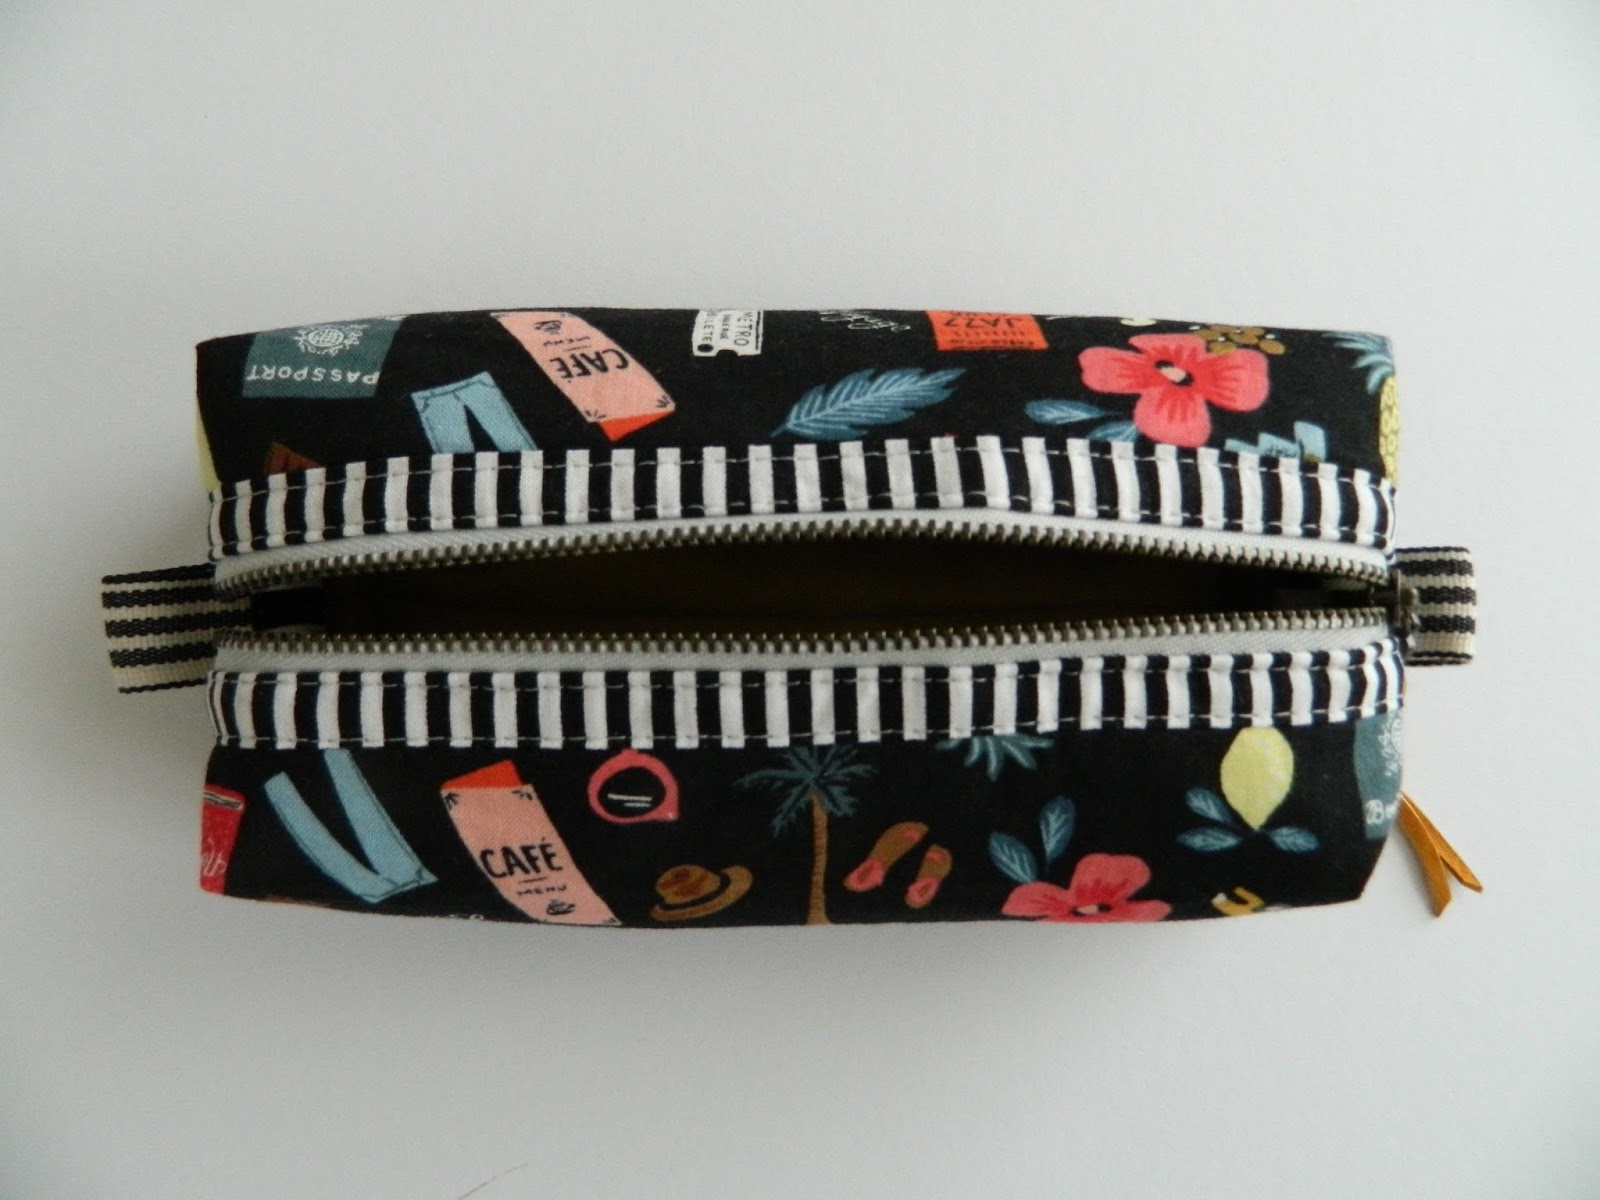
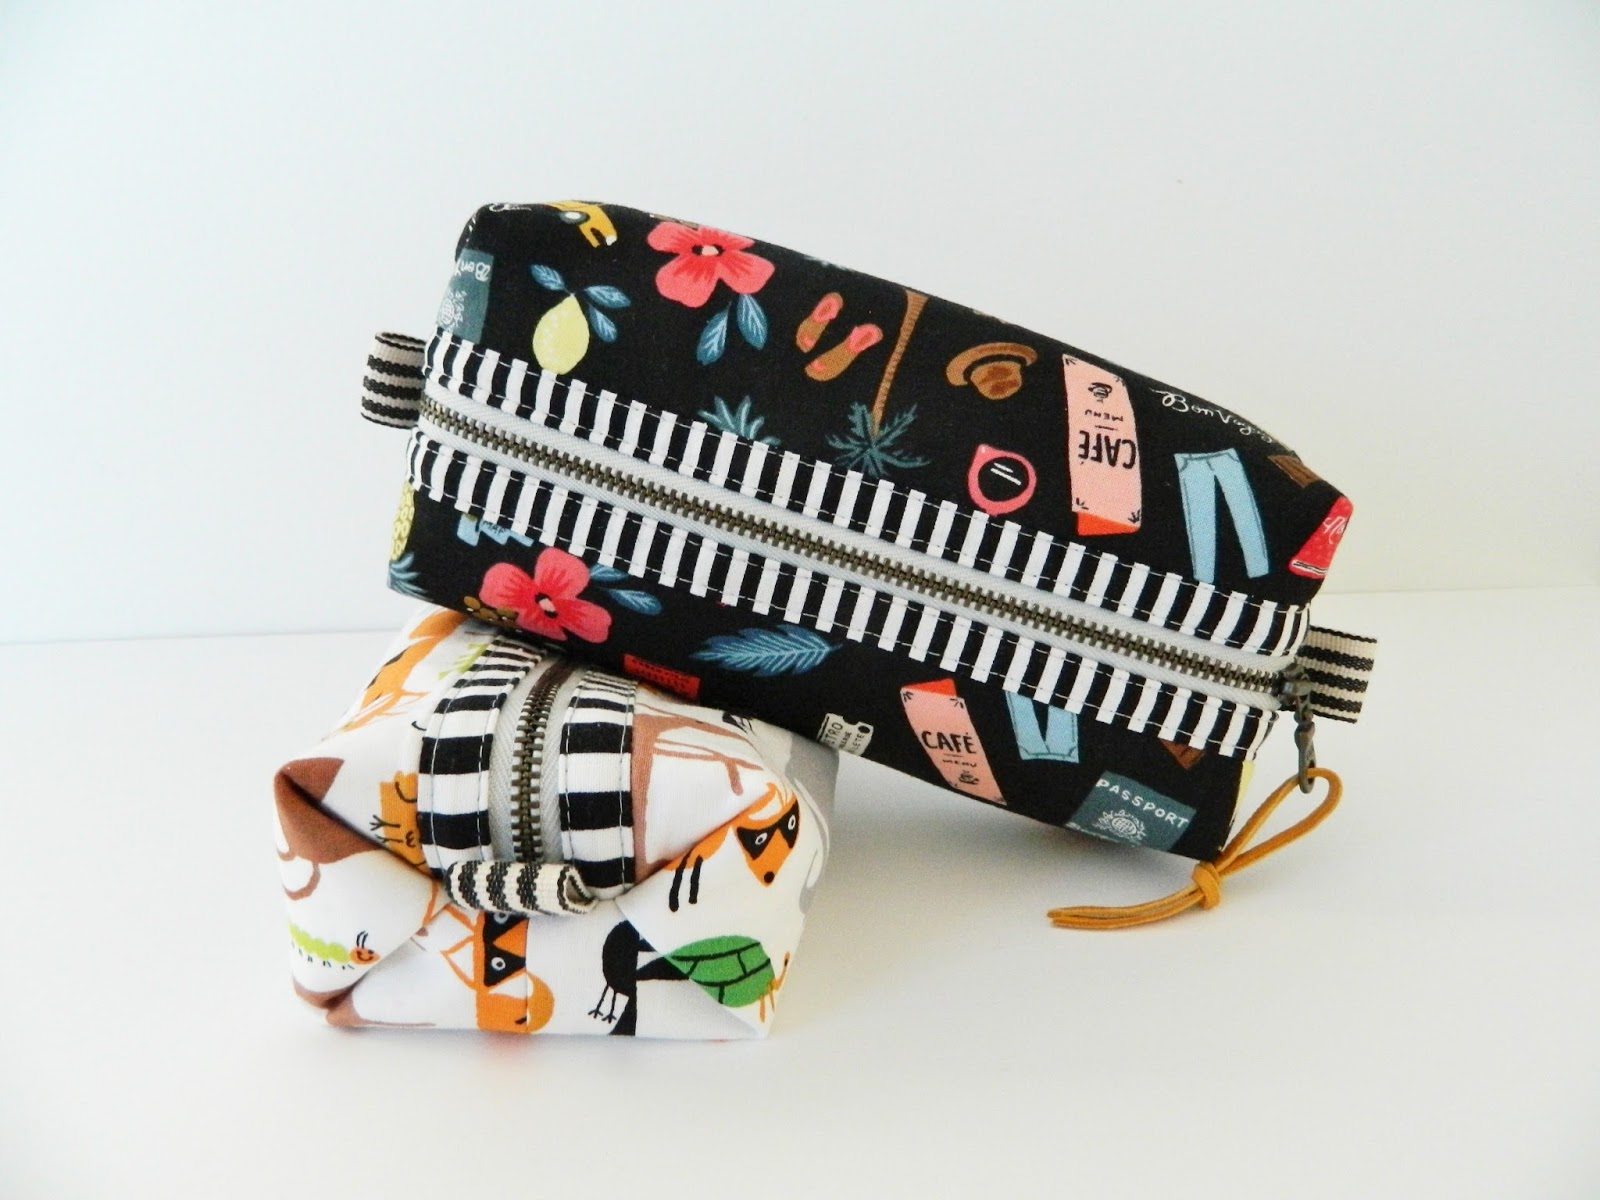
Pretty cute, aren’t they? These pouches finish at 7″ wide x 2″ tall x 3″ deep and would work great as pencil or make up pouches.
Materials needed:
- main exterior fabric: two – 5.25″ tall x 10″ wide rectangles
- contrasting exterior bands: two – 1″ tall x 10″ wide strips
- lining fabric: two – 5.75″ tall x 10″ wide rectangles
- raw edge binding: two – 2.5″ tall x 4.5″ wide rectangles
- fusible fleece: two – 5.75″ tall x 10″ wide rectangles
- SF101 interfacing: two – 5.75″ tall x 10″ wide rectangles
- 9″
- zipper (metal or nylon depending on your preference)
- two – 0.5″ wide x 2.5″ long
- ribbon for side tabs
If you want to learn how to sew a boxed pouch, you will also need:
disappearing fabric pen, ruler, zipper foot for your sewing machine
Use 1/4″ seam allowance unless otherwise stated.
Exterior Panels
1. Stitch contrasting exterior bands to top edges of both main exterior panels. Press seams towards contrasting bands, topstitch along the seam using 1/8″ seam allowance.
2. Follow manufacturer’s instructions to adhere fusible fleece to wrong side of both exterior panels.

Lining
3. Follow manufacturer’s instructions to adhere interfacing to wrong side of both lining panels.
Zipper
4. Center zipper right side down along the top raw edge of exterior panel. Align zipper tape with exterior’s top raw edge. Place lining panel right side down on top, align top raw edges, zipper is sandwiched between the exterior panel and lining. Pin to hold in place. Use the edge of your zipper foot as a guide and stitch along the top pinned edge taking the pins out as you go. Press both exterior and lining away from zipper.

5. Attach second exterior panel and lining to second zipper tape following the same directions. Press the panels away from zipper.
6. Use 1/8″ seam allowance to topstitch along both sides of zipper, stitching through both exterior panel as well as lining.
7. Fold both side tab ribbons in half, center each along one edge of zipper as shown in picture below, baste using 1/8″ seam allowance.

8. Open zipper half way and keep it that way! Align exterior panels on top of each other and lining panels on top of each other, pin along both long edges as shown below. Stitch along the pinned edges backstitching at the beginning and end. Press the seams open.

Gusset
9. Turn the pouch lining side out, align zipper over bottom seam. Use Wonder Clips to hold zipper in place.
10. Use disappearing fabric pen to mark A points as shown below.

11. Use ruler to measure and mark 1″ away from both sides of point A, mark those as point Bs. Do the same marks on each side of the remaining three points A.

12. Align points B over each other, point A is hidden inside (make sure all the raw edges are aligned). Use Wonder Clips to hold each edge folded as shown below.


13. Use 1/4″ seam allowance to baste both side edges. Check on the exterior side to make sure all the panels and folds are caught in the seam. If something got out of place in the process go back, rip out the seam, and redo the folds.


Binding
14. Fold and press both binding strips in half lengthwise. Align one binding’s raw edges with pouch’s raw edge, use 1/4″ seam allowance to attach binding to pouch (about 1/2″ of binding will be sticking out on each side, don’t attach that to pouch at this time).

15. Fold the part of binding that was sticking out in previous step around the side edge, hold in place and fold binding over to cover raw edge. Use clips to hold everything in place.


16. Wrap and bind second corner the same way. Use 1/8″ seam allowance to stitch binding in place.
17.Follow the same directions to bind second side raw edge.
18. Turn the pouch right side out, adjust the sides to make your pouch rectangular and boxy, add zipper pull if you wish, and you’re all finished. Congratulations!!