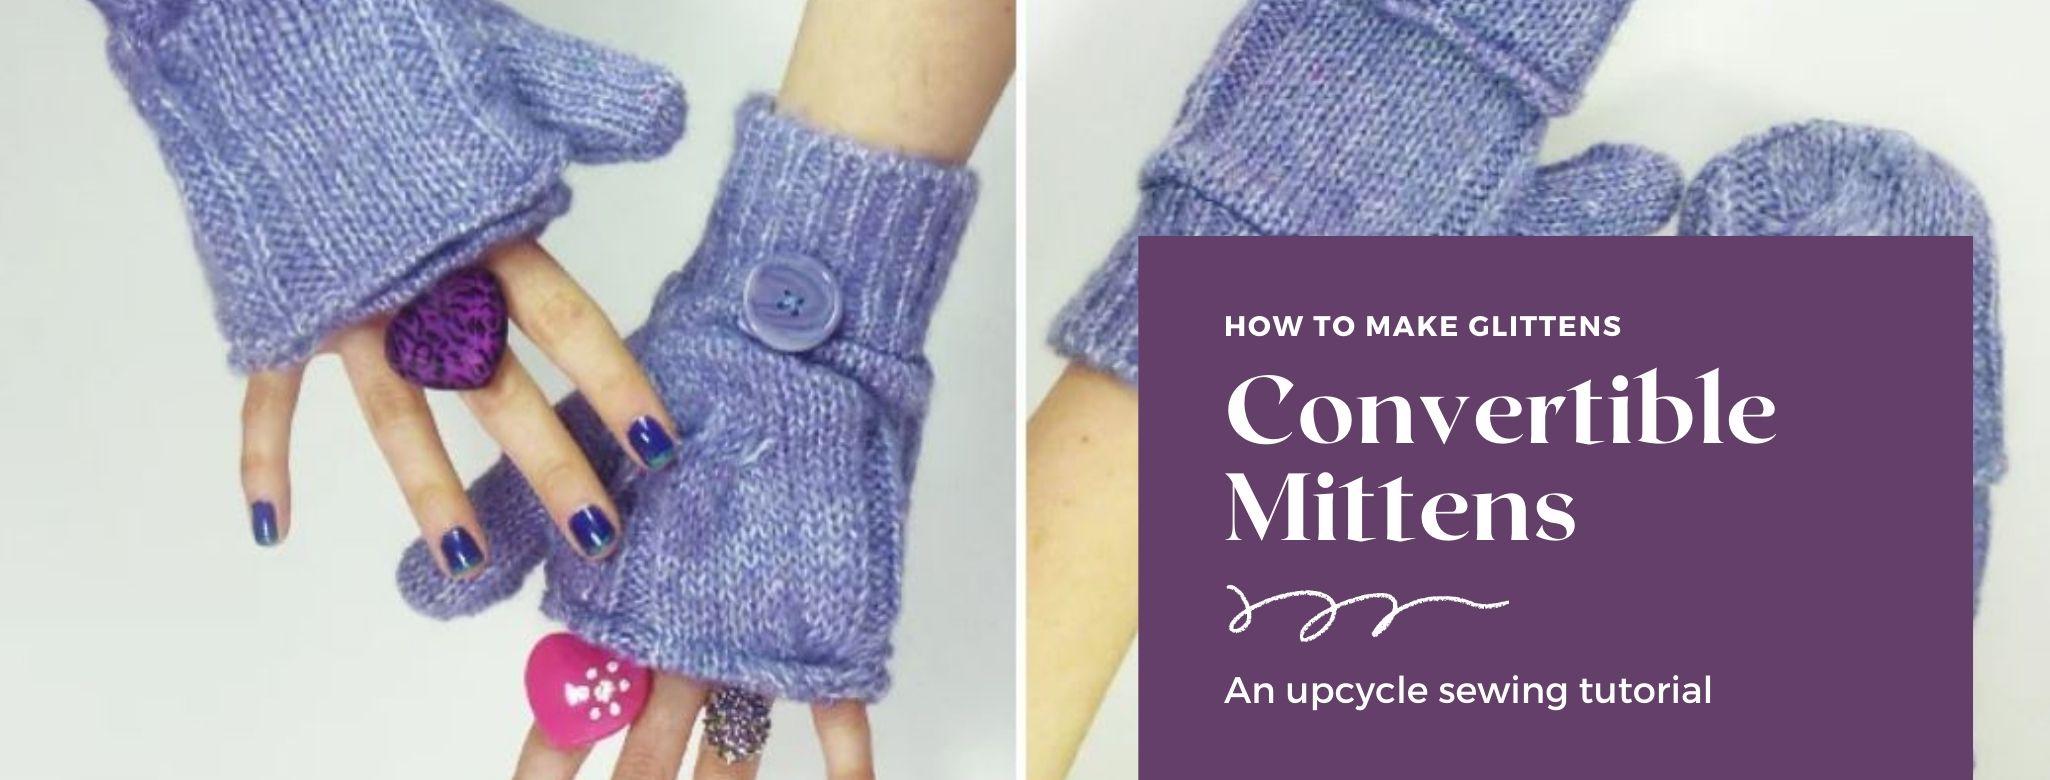
 I am adoring this upcycled tutorial from A Little Stranger for how to make glittens. For those of you who are wondering what is a glitten, let me explain. If a glove and a mitten were to get married and have a baby, it would be a glitten. So clever, I know! But these convertible mittens can solve cell phone dilemmas while keeping your hands warm, while also feeling excited that you were able to upcycle an old sweater into something new again. Who doesn’t love an upcycle sewing tutorial?
Typically I like to provide simplifications, however, this tutorial does not need any. The only alteration for consideration I would include is the use of Velcro in place of the button. Using Velcro for children or the elderly might be easier for transitioning the glitten to fingerless.

How to Make Glittens (a.k.a convertible mittens)
This instructable shows you how to make an old cardigan into a pair of fingerless gloves that transform into mittens. Includes a free pattern that can be easily resized so you can make these for any sized hands.
Step 1: You Will Need
- A donor cardigan – I picked one with cabling detail as I thought it’d look cute on the backs of the gloves. What the cardigan is made of is down to personal preference, but one with a tightish weave will be easiest to work with. You could always use a sweater you’d just have to buy matching buttons separately.

- A printed copy of the pattern
- a – pins
- b – scissors
- c – needle
- d – thread
- e – pen

Step 2: Cut All Your Pieces Out
1) Select which part of the fabric you want as the main feature of your gloves. I decided to have the cabling on the jumper running down the middle of the gloves.
2) Mark and cut out the hand part of the gloves, placing the cabling in the center of one half of the glove. Cut another with the cabling on the opposite side
3) this is what your two main hand parts should look like, with the cabling design on opposite sides on each piece.
4) cut the mittens out – two with cabling running through the middle and two without.


5) Cut the thumbs from a plain part of the cardigan
6) Cut the ribbing from the rib at the bottom of the cardigan
7) Cut the hanging ribbons off the cardigan, these are for the button loop later. If your cardigan doesn’t have these just use a coordinating ribbon. Cut off two buttons.

Step 3: Sew Everything Together
8) Pin the cuff to the main glove and hem using a straight stitch. Bind the edges with a zig-zag stitch. I used black thread so you can see where I’ve sewn, but a matching thread would be best!
9) Fold the glove in half and pin together the seam over the top of the thumb. Sew in place.
10) Lay the glove out flat and pin on the thumb, lining the center of the thumb up with the seam you just made. Sew along this edge.

11) Fold the glove back in half. Pin from the top of the thumb to the bottom of the cuff and sew all along.
12) Zig zag around the raw edge at the top of the glove. Turn it over to the inside and pin in place. Sew all around with a straight stitch.
13) Pin together the mitten tops, one cable piece, and one plain piece for each. Hem as you just did on the top of the glove.

Step 4: Finishing Touches
14) Pin the mitten top to the glove about 1.5cm from the hem (this is indicated on the pattern) Sew in place with a line of straight stitch
15) Put the glove on so you can see where the button needs to go. It will probably want to go on the join where the cuff meets the glove (depends on the size of the button – I used quite big ones) Sew the button in place and then use the ribbon you saved earlier to make a button loop.
16) Sew the looped ribbon to the reverse of the mitten, right at the top. Make the loop long enough that the button slips out quite easily, they don’t need to be super tight as the mittens will fold back naturally when you’re not wearing them its just to stop it flapping about.

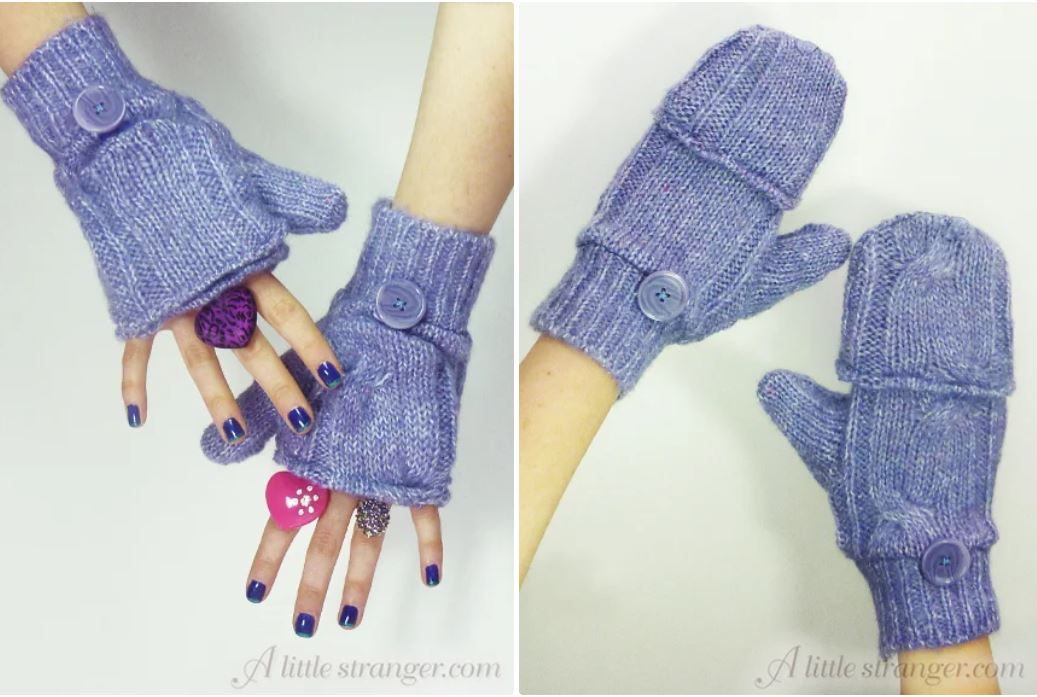
Step 5: Ta Daaaa! Your Convertible Mittens are Done
That’s it! Now put your mittens on and impress your friends with your warm fingers, big rings and the ease at which you can write text messages once you flip the mitten up!
