
A great thing about sewing your own things is the ability to feel a little more in control of the impact you have on waste and the environment. Single-serve to-go cups have really gained popularity over the years. We are now seeing the impact this has on the environment. If you are an avid coffee drinker or know someone who is, there are a lot of ways you can personalize this coffee cup sleeve tutorial. Make it as unique as the person it is for!
An Alternative
These are super easy to make and the tutorial does a great job laying out the steps. However, there is one alteration I would do as a beginner looking at this coffee cup sleeve tutorial. Because all of my cups are different sizes, I would add a little extra length to the pattern. I would then add a Velcro strip to the finished cup holder. This way I could adjust its closing vs. hand sewing the cup sleeve closed.
The Perfect Embroidery Design
We have the perfect embroidery machine design to go with this tutorial! You can find it here:
HOW TO MAKE A COFFEE CUP SLEEVE from Kitchen Counter Chronicles
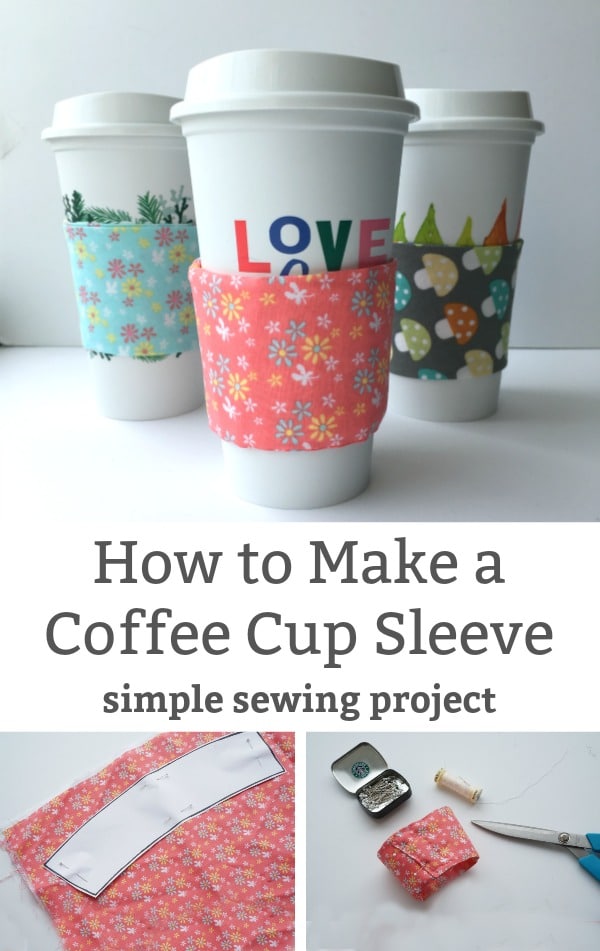

If you add up every trip to the coffee shop that you make in a week and then multiply it by the number of people in the coffee shop, you quickly realize how many single use cups and coffee cup sleeves are being added to our landfills every week. I’ve been touting how much I love the super inexpensive reusable coffee cups from Starbucks. Over the last few months I’ve purchased 3 of the cups and I have found them to be convenient to use.
Supplies
- cotton fabric
- felt
- thread, needle
- print out of paper coffee cup sleeve template
- bone folder
Getting Started
Begin by printing off my coffee cup sleeve template (if you want to sew a super simple sleeve from felt you can use the slightly smaller coffee cup cozy template). I created this Starbucks cup sleeve template from a Starbucks coffee sleeve, so it fits perfectly. Cut out the pattern piece.
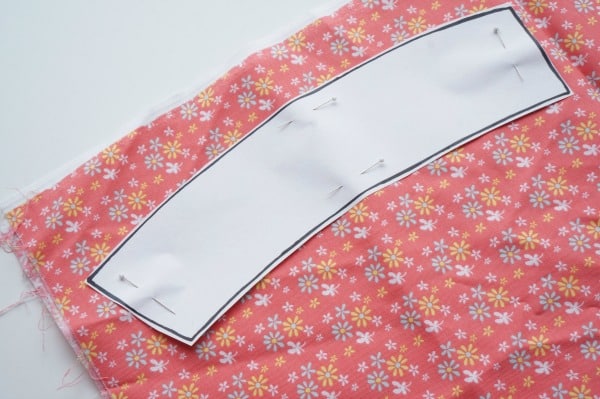
Now, place 2 layers of fabric, wrong sides together and pin the template to the fabric.

Cut the fabric about a 1/8″ beyond the template edge. Because we are adding a lining to this coffee cup sleeve, we need the fabric to be cut a tiny bit larger than the template. Set the cut out fabric aside.

Next, pin the template to the felt. We need to add a layer of felt, because two layers of fabric won’t protect your hand from the heat of the cup. Cut out the felt – this time cut right along the template edge.
Now you have 2 pieces of cut fabric and 1 piece of felt. It’s time to do some sewing.

Sewing Your Coffee Cup Sleeve
Place the fabric right sides together and sew around the edge – leaving an opening so that you can turn the fabric right way around.

Turn the fabric right way around and then iron the coffee cup sleeve. In the spot where the hole is, tuck the edges of the fabric down and iron…you will sew this hole closed soon.

Now it’s time to feed the felt inside the sleeve of fabric. I use my bone folder to poke and persuade the felt into the sleeve. A bone folder is commonly used to fold paper, but I find it super helpful when sewing because it doesn’t have a sharp, pointy end, which might poke through the fabric. If you don’t have a bone folder, you can use the end of a ruler or the unsharpened end of a pencil.

Once the felt is inside, it’s time to hand sew the hole closed.

Now, wrap the coffee cup sleeve around the coffee cup you will be using. Overlap the fabric and pin in place. Hand sew the fabric together.

Now you are done making your coffee cup sleeve.
One Comment