Indeed there is an abundance of drawstring backpack tutorials online. But today I wanted to share this tutorial on how to sew a drawstring backpack from Sew Can She because I thought it was easy to understand and follow for beginners.
These backpacks are a great sewing idea for any gender and any age. After you get the hang of making them, you can add so much personalization such as fabrics with favorite colors or themes, or even an appliqued name.
Tutorial alteration: If you do not feel comfortable making your own drawstring, you can always purchase drawstring cotton cord trimming, use ribbon, or perhaps you have a cord you’ve saved to upcycle from an old hoodie or sweat pants. Just match the length to the suggestions below and utilize what you have on hand. She also mentions more options in her tutorial below for how to sew a drawstring backpack.
Happy Sewing…
How to Sew a Drawstring Backpack from Sew Can She
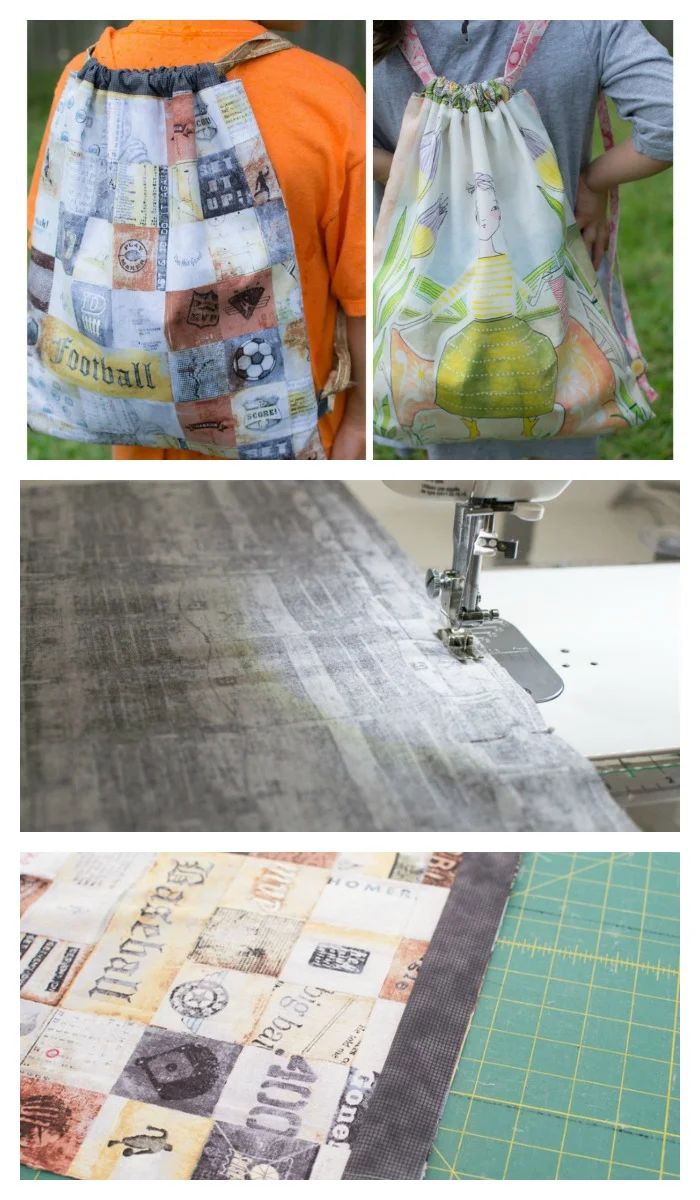
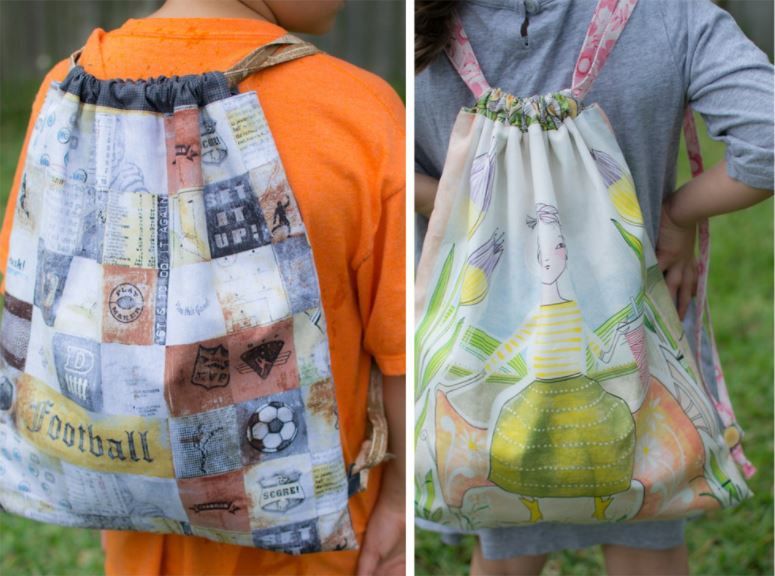
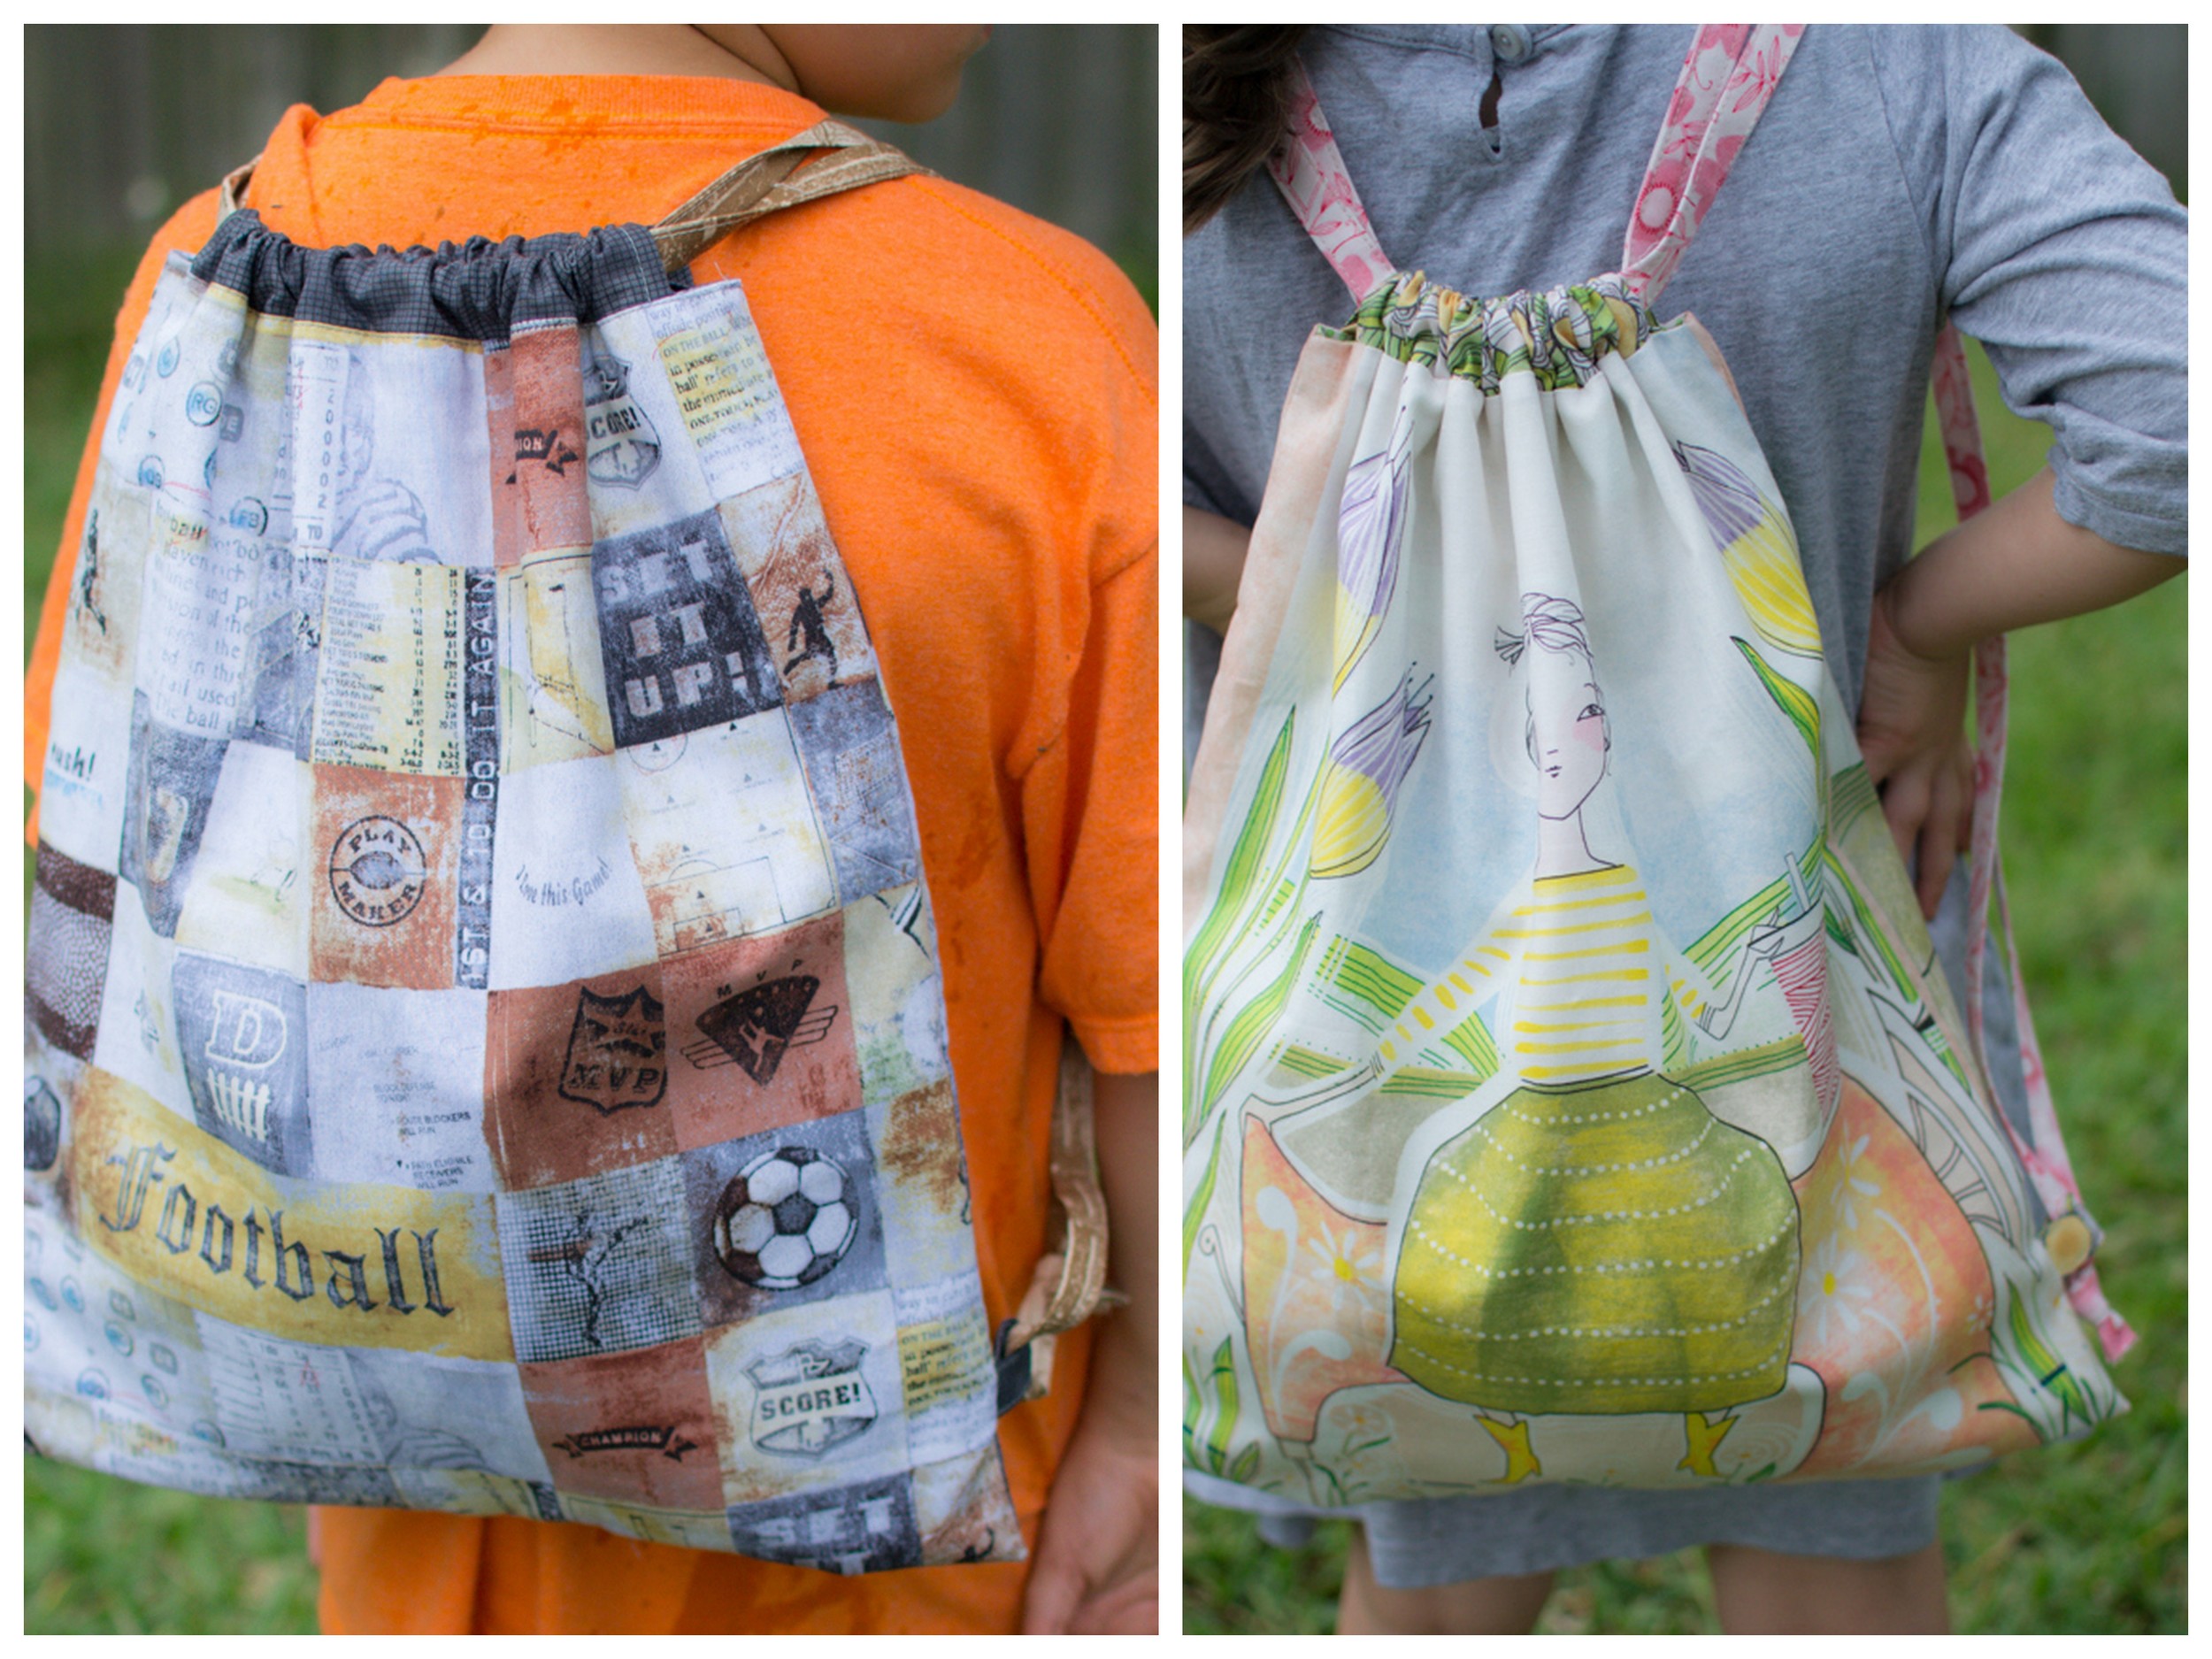
And don’t you love a project that you can sew for a boy or a girl? I made my boy’s backpack from Sports Fan by Blend Fabrics. The girly backpack is sewn from The Makers, also from Blend Fabrics.
One more great thing about this project is you can sew the backpack from all one fabric, or use four or more fabrics like I did.
You will need about 1/2 yard for the exterior, 1/2 yard for the lining, and 1/4 yard for the drawstrings. So let’s start the easy sewing tutorial…
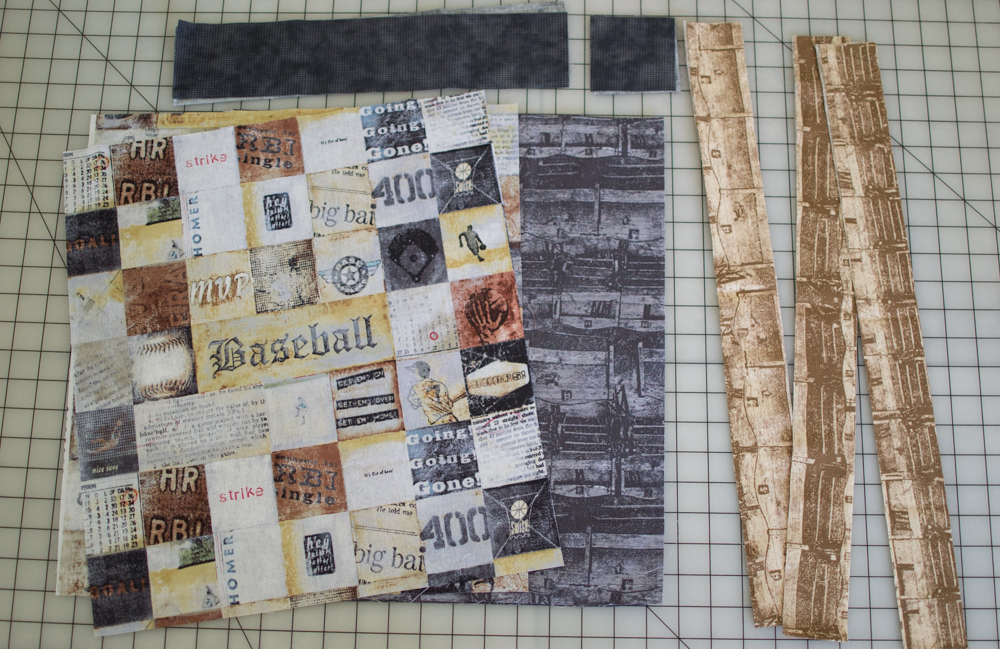
Cutting
From coordinating fabrics, cut:
-
2 exterior rectangles 17” x 15”
-
2 lining rectangles 17” x 15”
-
2 casing rectangles 3” x 14”
-
2 loop squares 3” x 3”
-
3 strips for the drawstrings, each 2” tall x width of fabric (42-44”)
Sewing
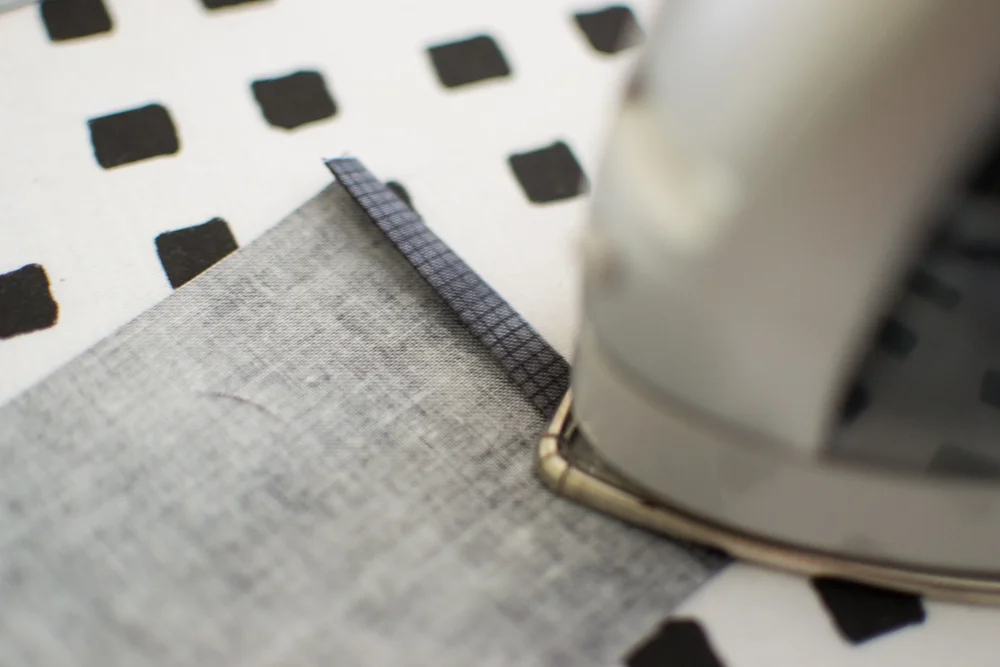
Press a 1/4” hem on both short ends of the drawstring casing rectangles. Stitch.
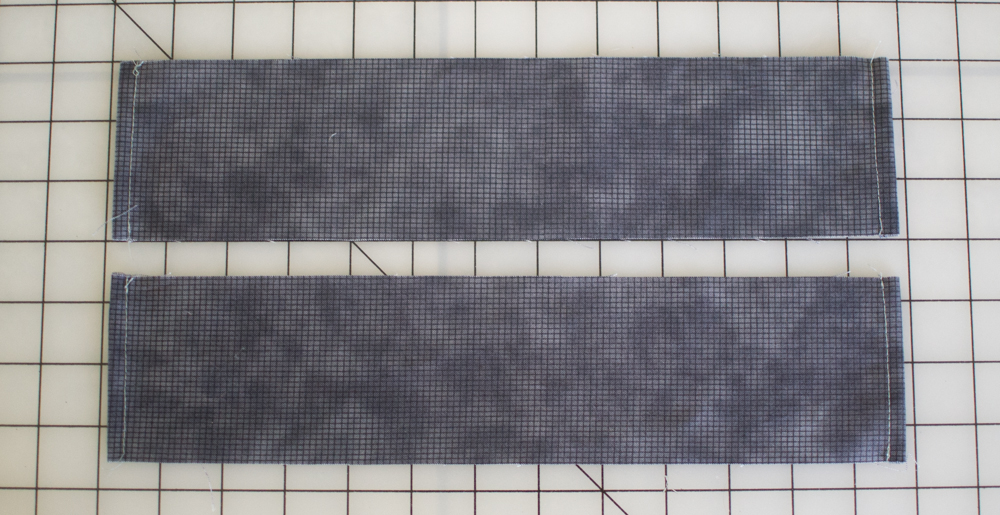
Set these aside for a few minutes.
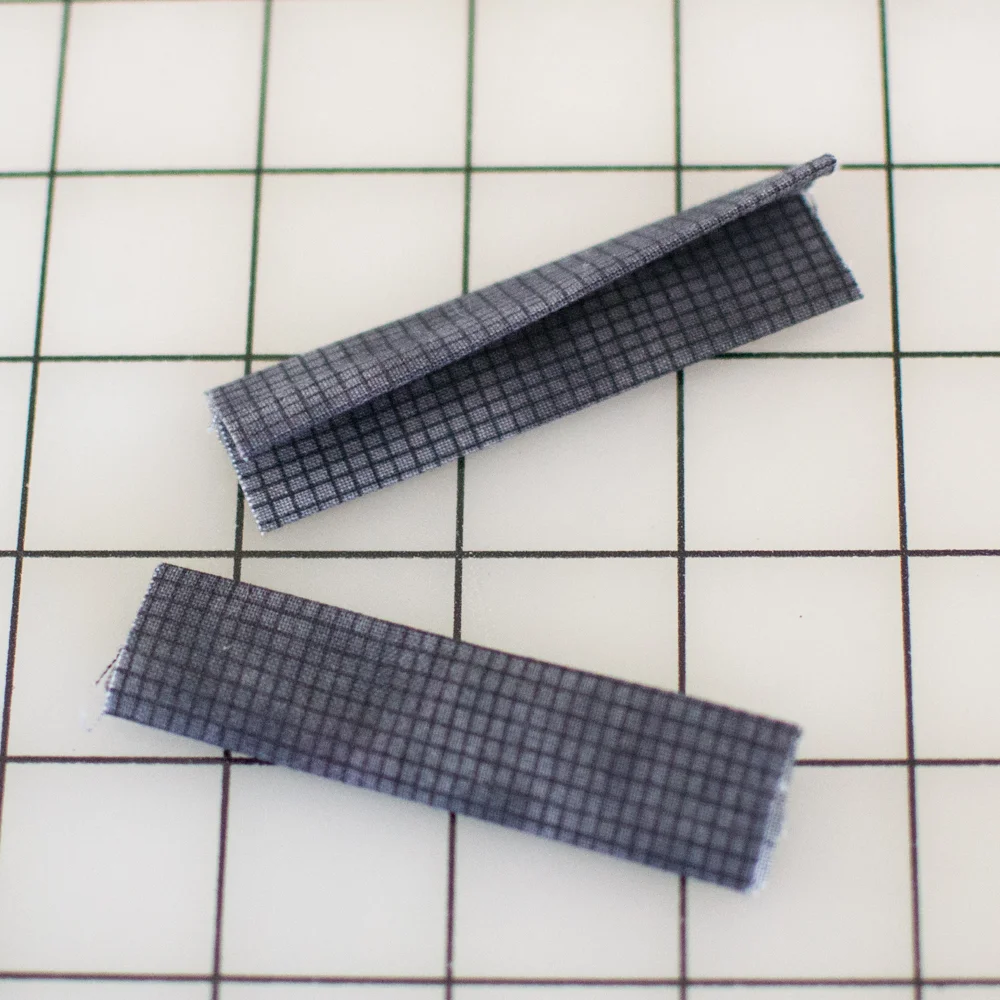
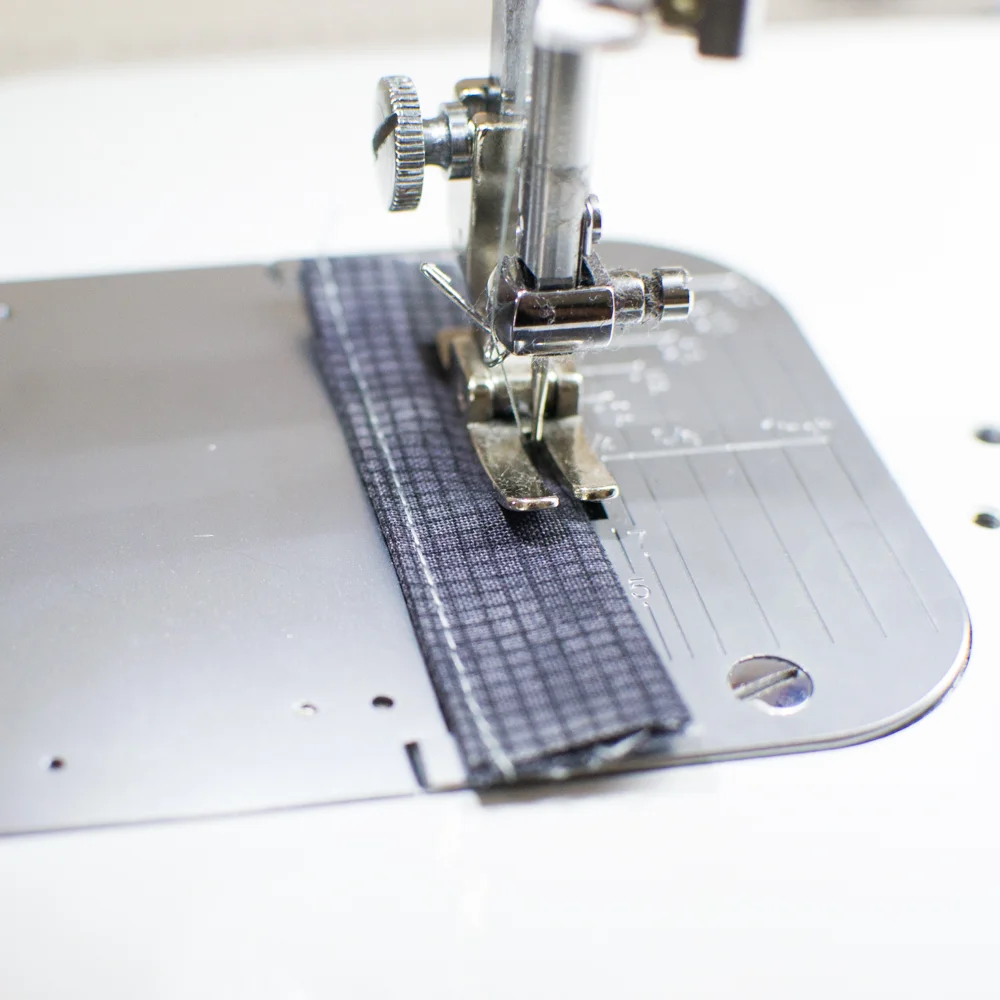
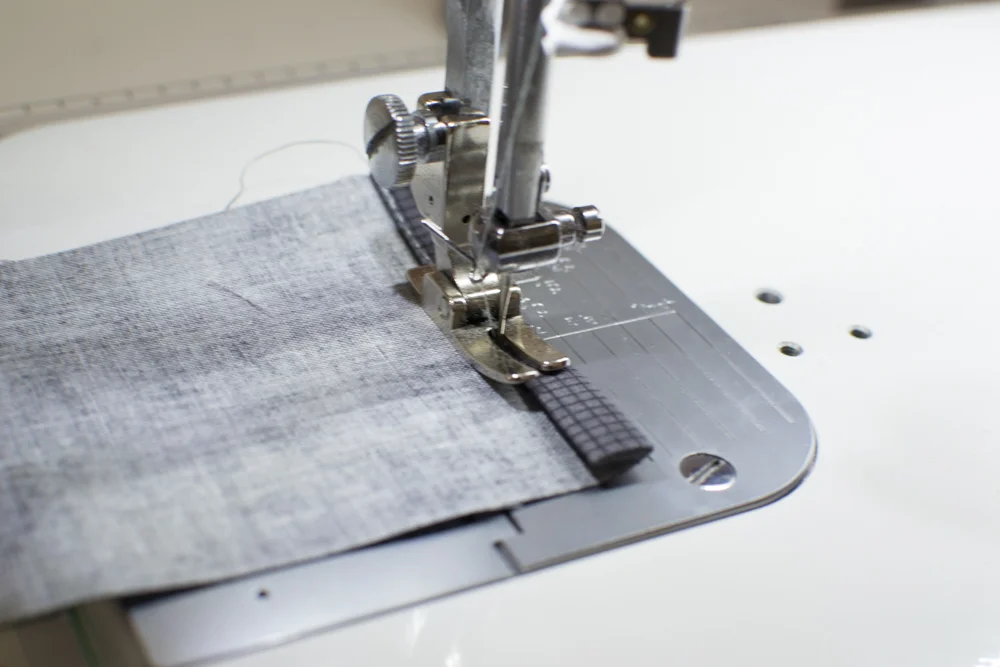
Fold and press the 3” squares in half. Fold and press the edges at the center and then press in half again to make strips that are 3” long and 3/4” wide. Topstitch close to both long edges.

Fold one of the casing rectangles in half wrong sides together (press if desired), and center it along the top edge of one of the exterior pieces. Lay a lining rectangle over the exterior rectangle, right sides facing with the casing sandwiched in between. Pin.

Stitch along the top edge. Repeat with the other exterior, lining, and casing pieces.
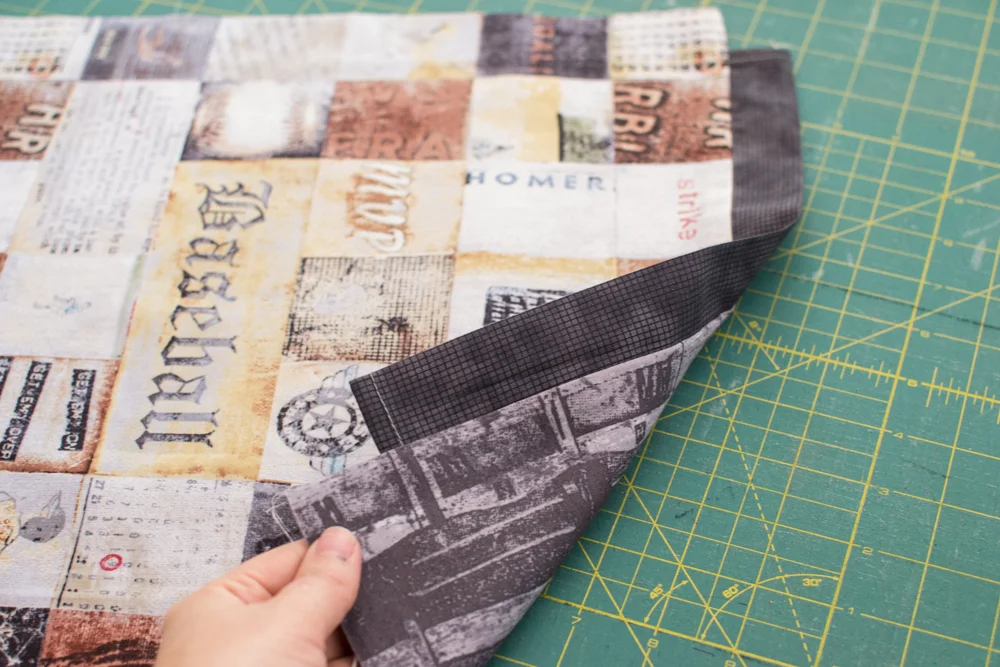
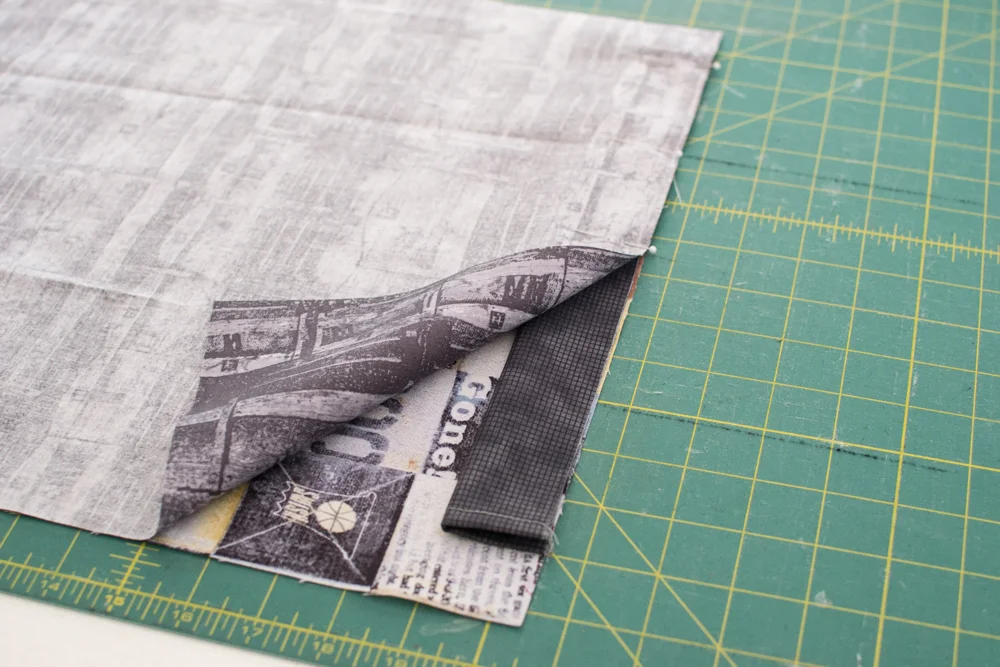
Press the seam towards the lining, and then fold the fabrics with the wrong sides together and press the lining and exterior away from the casing.

The tab pieces are pinned and basted to the exterior fabric only, not the lining.
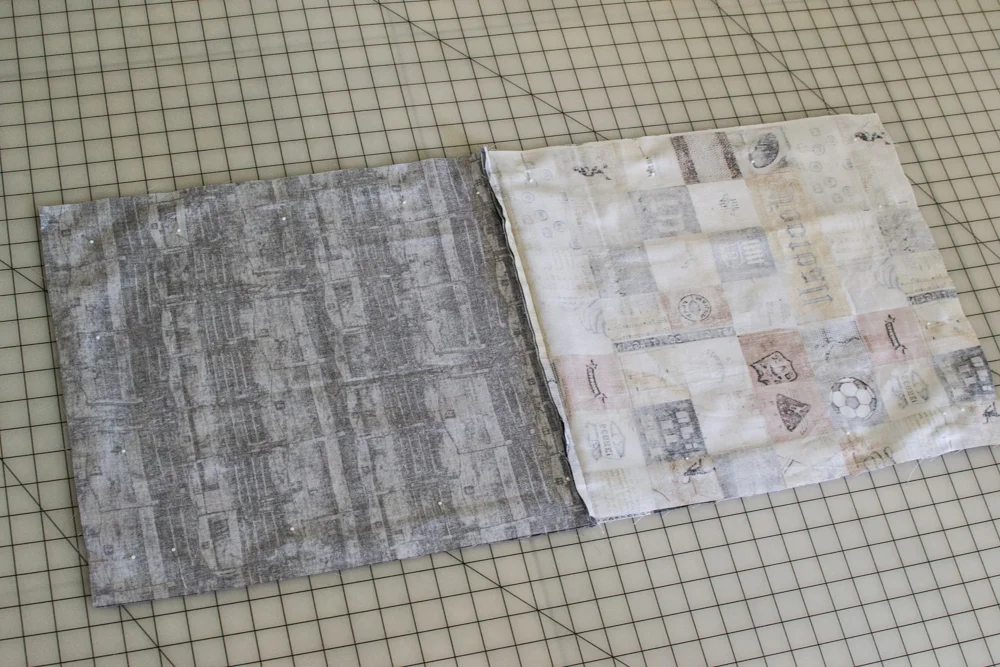
Pin the other exterior/lining piece on top, matching the exteriors and the linings.
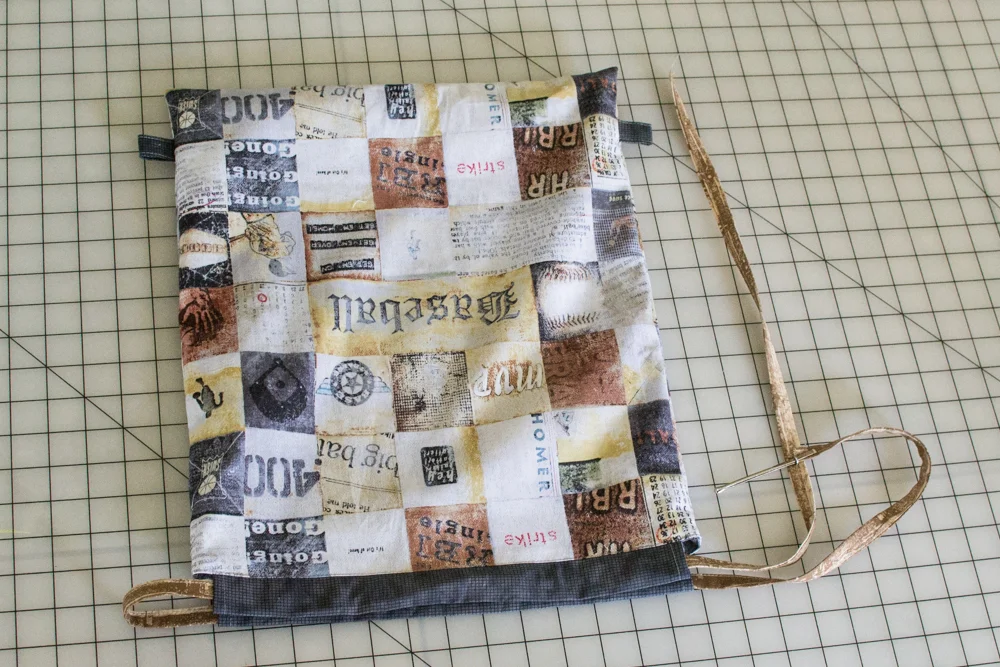
Stitch all the way around, leaving a 4” opening in the lining for turning.
Clip the corners and turn right side out.
Press the edges of the opening to the inside, and sew the opening shut. Tuck the lining inside the backpack.
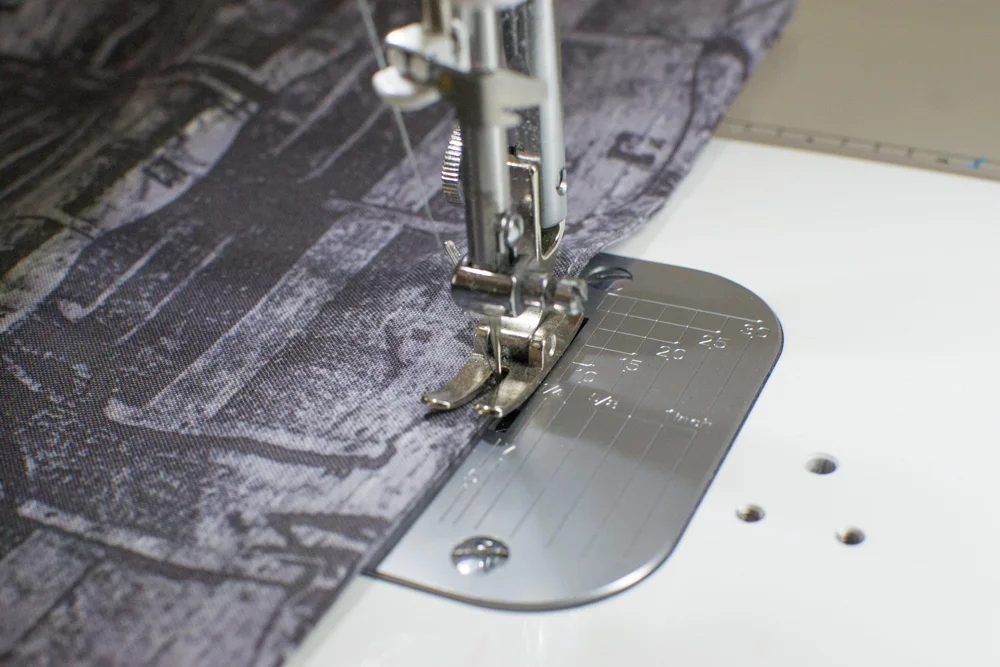
Press around the top of the backpack, and topstitch around the top edge, under the casing.
Make the drawstring.
Remove the selvages from the 3 drawstring strips. Cut one of the strips in half. Sew a shorter strip to each of the longer strips to make two strips each about 66” long. Press the seam allowances open.
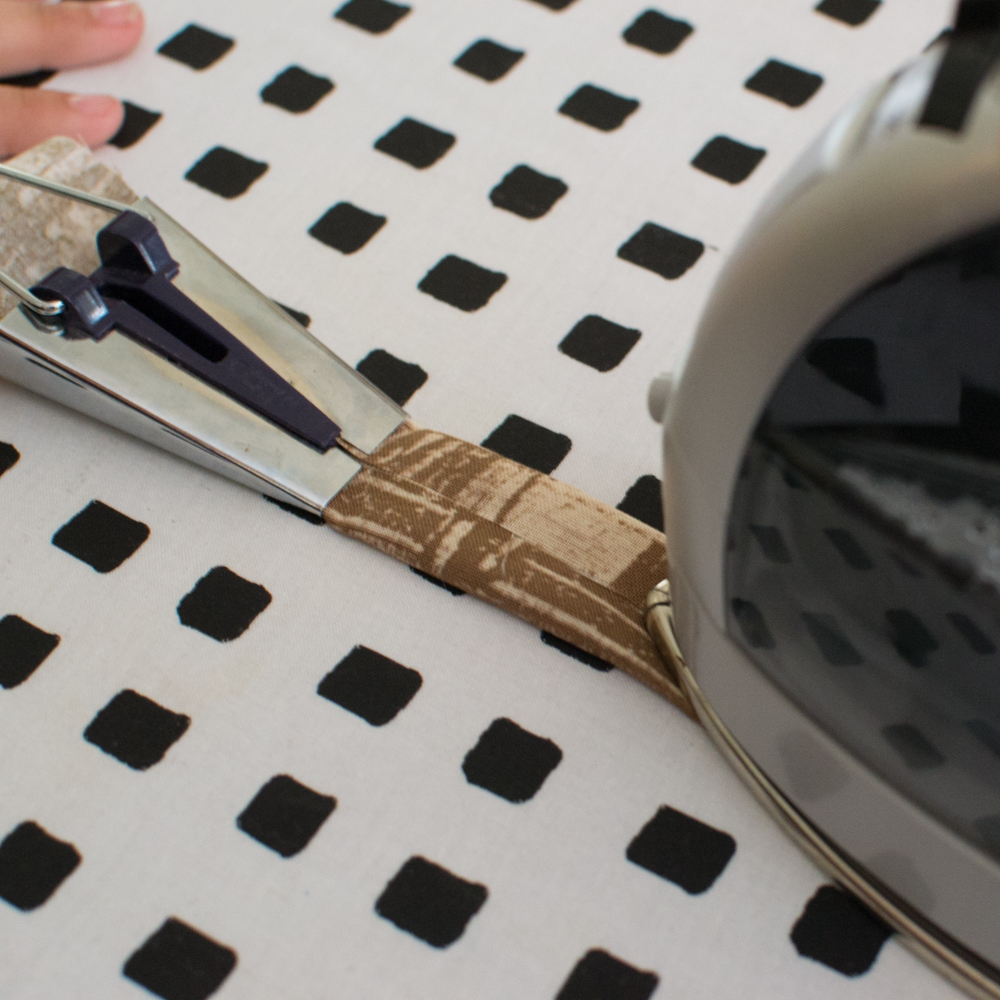
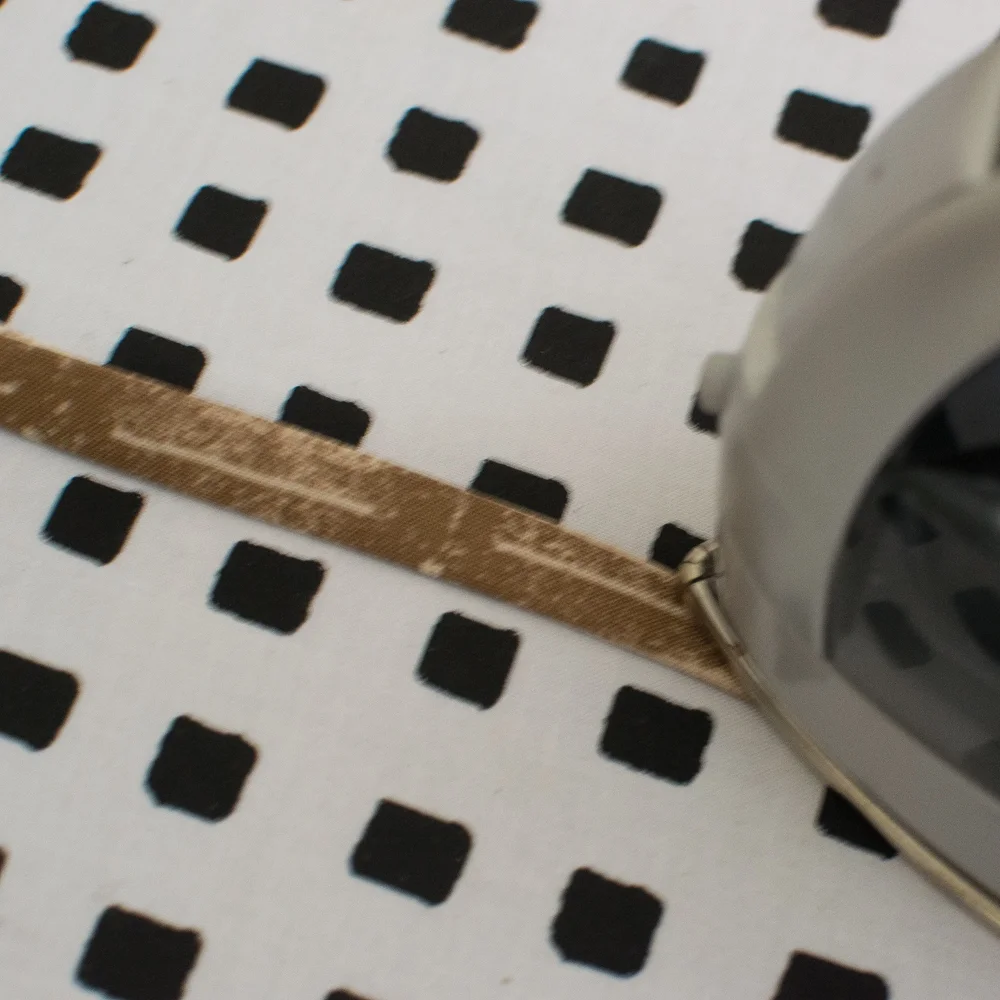
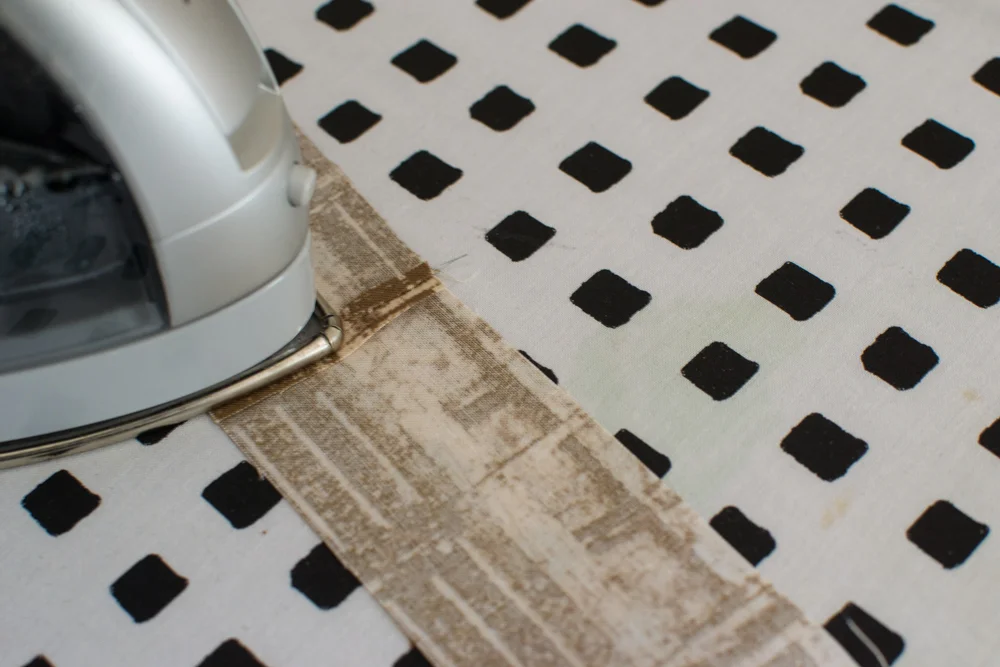
The drawstrings are pressed the same way as the 3” loops. A 1” bias trim maker tool really helps with this, but you can also do it by hand.
If you are pressing by hand, first press the strip in half lengthwise. Then fold and press the long edges to the center. Then fold in half and press again.
You may also fold and press the short ends to the inside. Since the ends will be tied, I didn’t fuss with that.
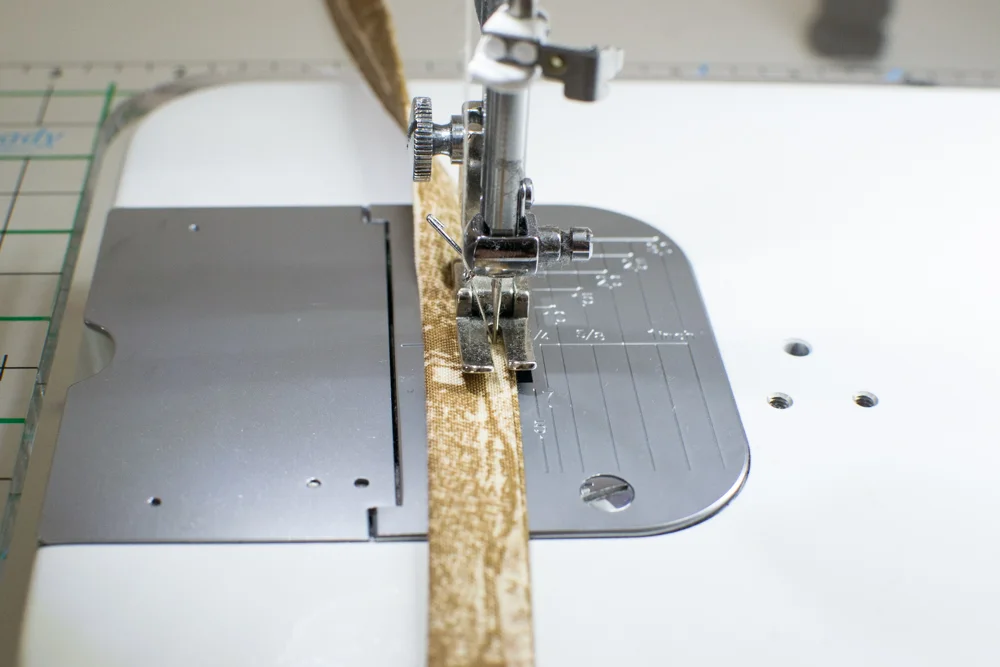
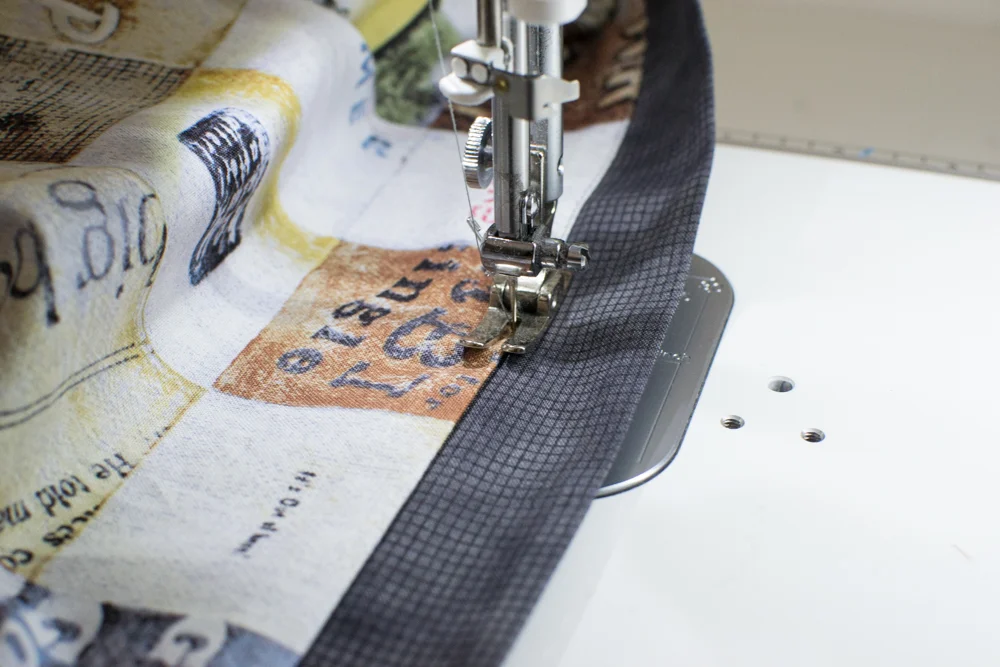
Stitch down the length of the ties to secure. On the girly backpack I stitched along both edges of the ties. They look cute that way.
To assemble the backpack, use a bodkin or large safety pin to pull one drawstring through a casing and then back through the opposite casing.

Thread one drawstring end through the loop and then tie both ends together. Trim them with scissors to neaten.
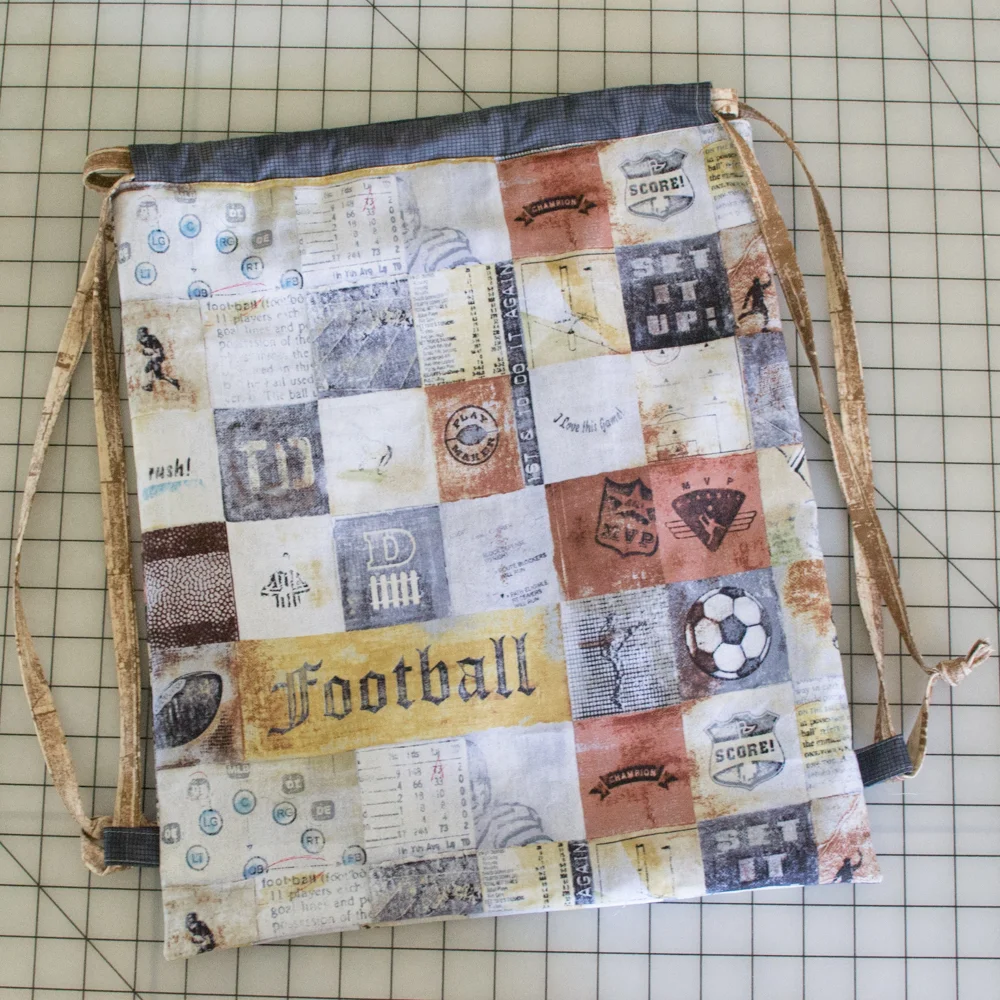
Thread the other drawstring through both casings from the opposite direction. Then you are done!
Happy backpacking!
